This article will help you install and configure IBM Control Desk Service Provider Edition V7.5.3. As usual we will use SLES 11 SP3 as an installation OS. We used 6 gigabyte of RAM, 2 CPU cores and 50 gigabytes of disk space in this scenario.
We downloaded the following packages from Passport Advantage:
- IBM SmartCloud Control Desk V7.5.1 TDI Integrations Multiplatform Multilingual (CI9CWML )
- IBM Control Desk Service Provider Edition V7.5.3 for Linux Multilingual (CN2HNML )
- Tivoli Middleware Installer Images V7.5.0.2, 1 of 3 for Linux x86-64 Multilingual (CI913ML )
- Tivoli Middleware Installer Images V7.5.0.2, 2 of 3 for Linux x86-64 Multilingual (CI5JBML )
- Tivoli Middleware Installer Images V7.5.0, 3 of 3 for Linux x86-64 Multilingual (CZX5JML )
- IBM DB2 Server V10.5 for Linux on AMD64 and Intel EM64T systems (x64) Multilingual (CIK9IML )
- IBM DB2 ESE Restricted Use, Quick Start and Activation V10.5 for Linux, UNIX and Windows Multilingual (CIK0LML )
We will use the Middleware installer to install & configure the middleware for us. Once all products installed we will gradually upgrade and distribute the middleware components across multiple servers. The middleware installer will install the following software and versions:
- DB2 9.7
- WepSphere Application Server Network Deployment 7.0.0.17
- IBM Tivoli Directory Server 6.3
- IBM HTTP Server 7.0.0.17
Before the installation we perform the following steps:
Set environment variable for mwi_launchpadroot. This will set the installation location of the installer. Our setting was like this:
export mwi_launchpadroot=/Downloads/TIVOLI-IMAGES/CONTROLDESK753/
Raise the OS open file limit to 8192 by adding the following 2 files:
root hard nofile 8192
root soft nofile 8192
to
/etc/security/limits.conf
Once the file is modified and saved reboot the system for the settings to take effect. Please note that you must have root access to perform this installation.
Installing the Middleware
The middleware installation is started with the setupLinux64.sh command from ./Install/MWI directory if the Control Desk installation media. Alternatively you can use the launchpad application to execute this installation script.
HUCTRLDSK001-P1:/Downloads/TIVOLI-IMAGES/CONTROLDESK753/Install/MWI # ./setupLinux64.sh
————————————————————-
Preparing the IBM Tivoli Middleware Installer. Please wait…
————————————————————-
Operating System: Linux
Linux distribution: suse
Host HUCTRLDSK001-P1 not found: 3(NXDOMAIN)
Hostname HUCTRLDSK001-P1 is a fully qualified domain name.OK.
The library libstdc++.so.5(64-bit) is installed.OK.
Env variable mwi_launchpadroot is set.OK.
Copying the installation files to a temporary location…
Once the installation dialog pops up select the installation language and click OK.
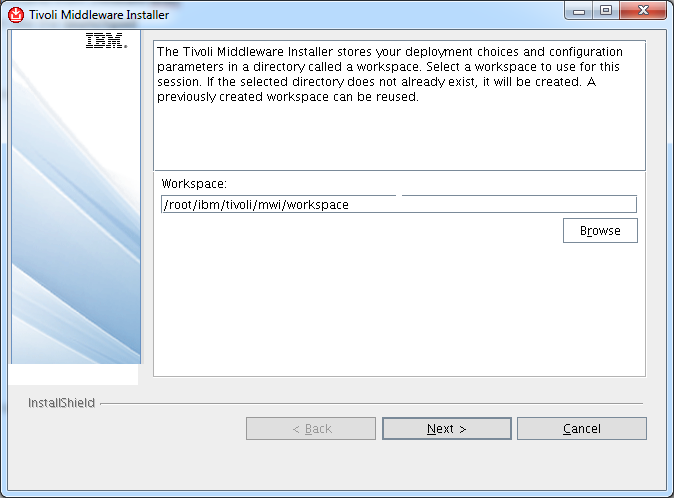
Click Next at the Welcome window accept the license agreement then select the location of the installation plan and click Next.
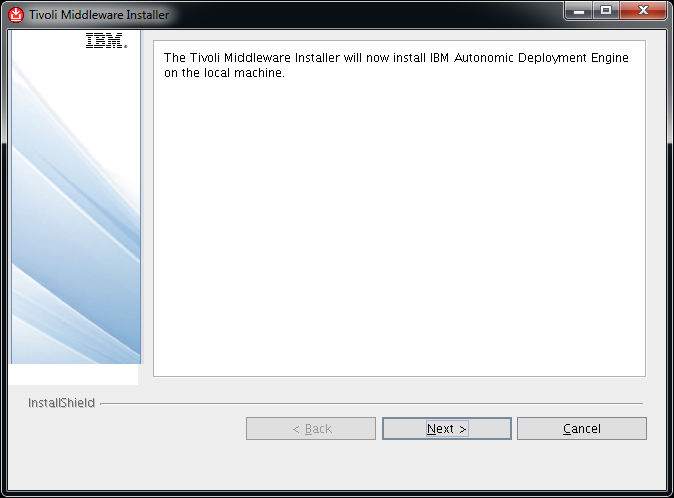
 Click Next at the Autonomic Deployment Engine installation window.
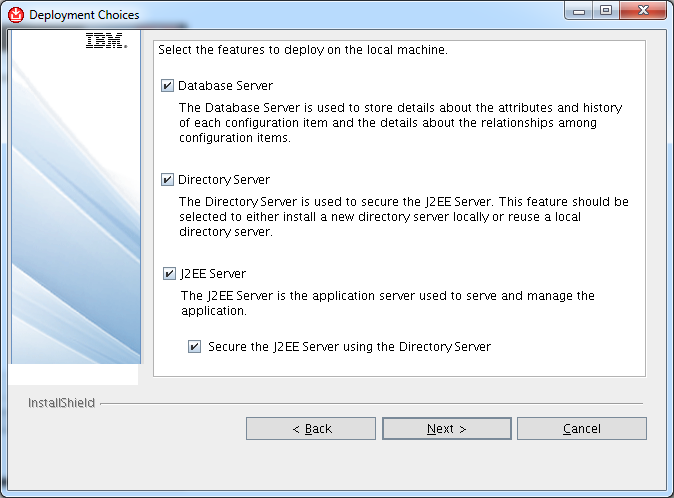
 Select everything in the next window then click Next.
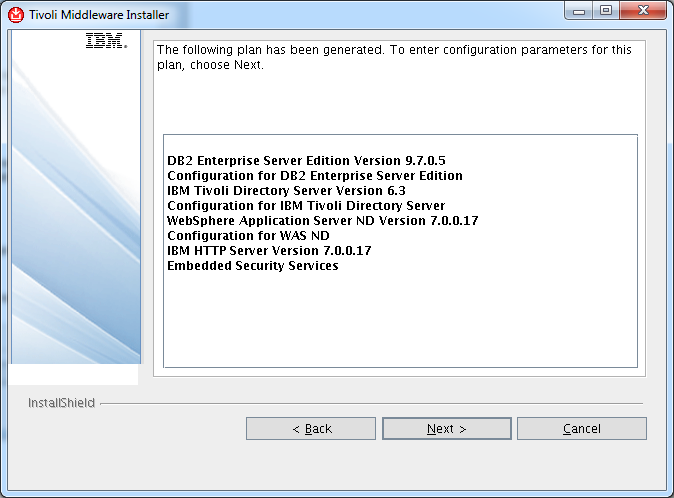
 The installer is now generating an installation plan based on what was picked. Once ready the plan and installation order is displayed. Review the plan then click Next.
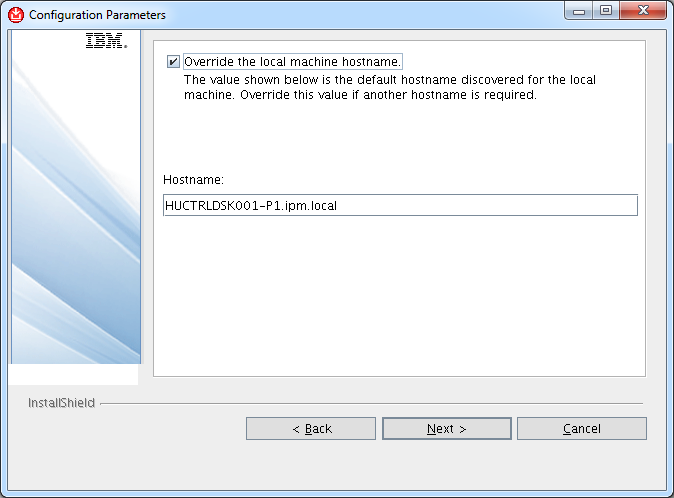
 Make sure that you give the fully qualified domain name at the following window then click Next.
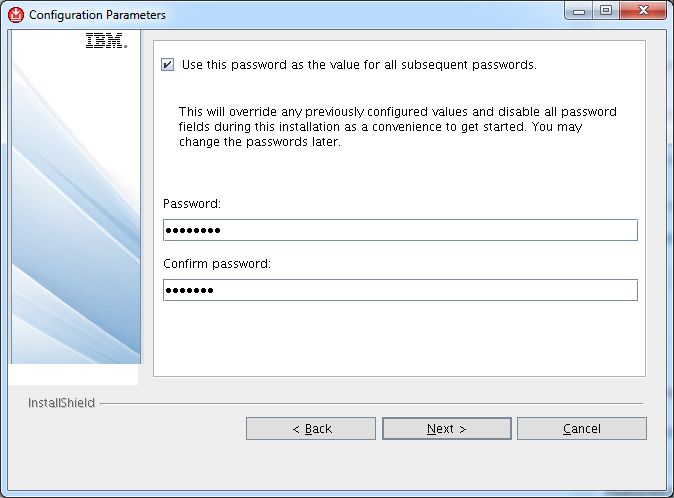
 Define the master password in the next window. We used this option as we want all middleware passwords to be the same. You can unselect this option and type different passwords for different software components as you progress with the installation. Click Next to get to the following installation step.
 Select the installation location of DB2 9.7 then click Next.
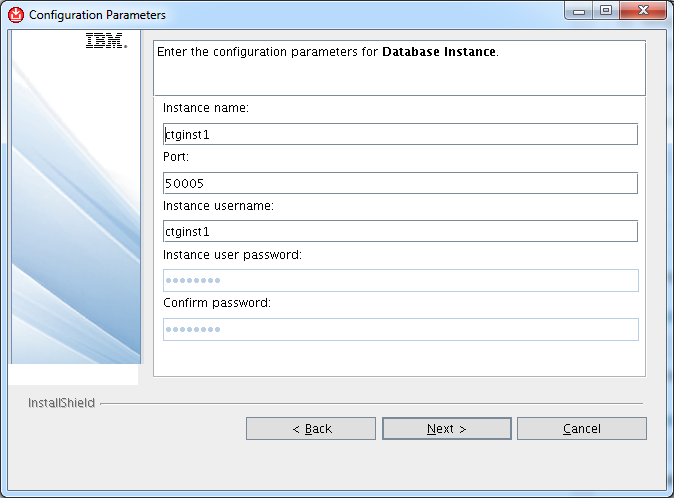
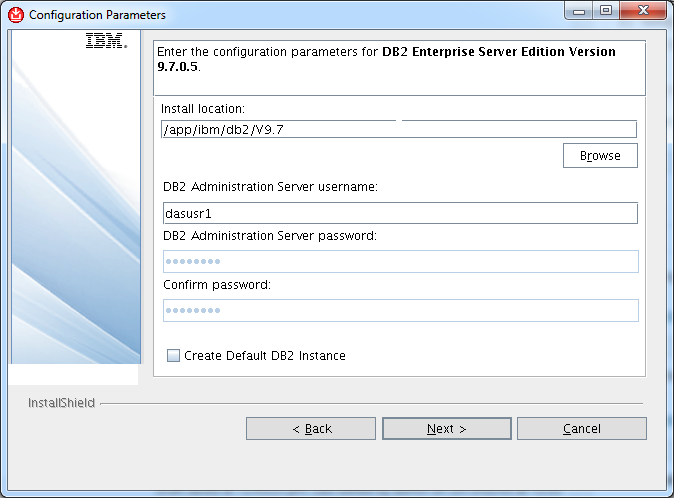 Leave the default configuration values for the DB2 instance then click Next.
 Leave the default configuration values for the DB2 fenced user then click Next.
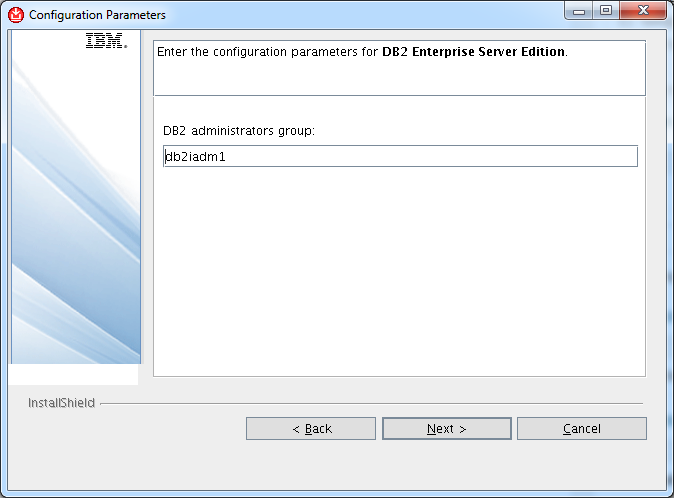
 Leave the default configuration values for the DB2 admin group user then click Next.
 Leave the default configuration values for the IBM Tivoli Directory Server installation, then click Next. It is important to point out here that the install location of the IBM Tivoli Directory Server can not be changed.
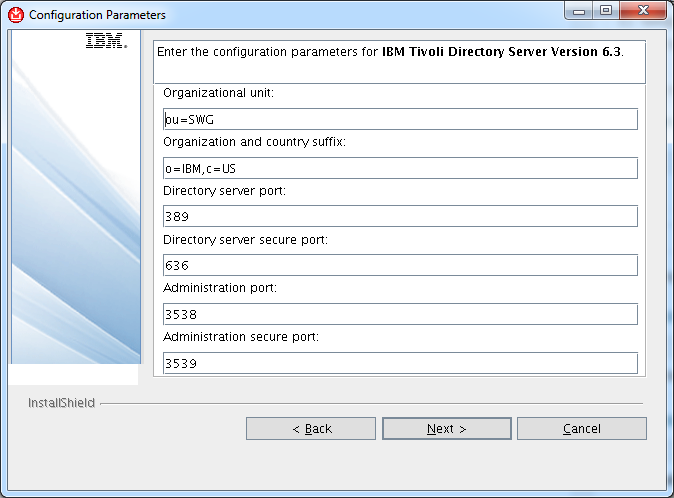
 Leave the default configuration values for the IBM Tivoli Directory Server configuration, then click Next.
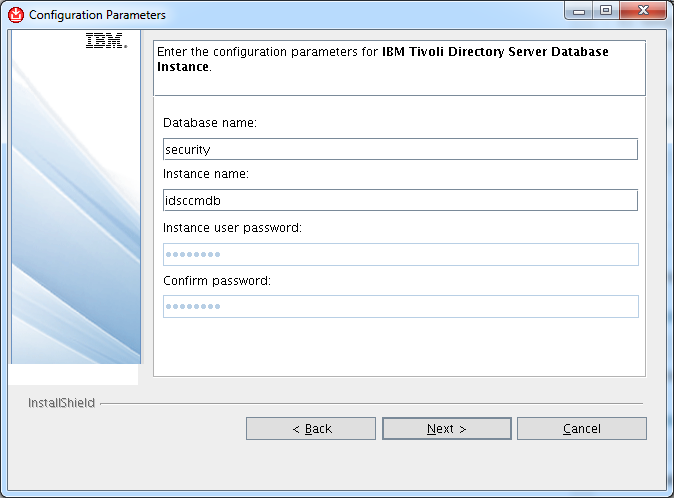
 Leave the default configuration values for the IBM Tivoli Directory Server database configuration, then click Next.
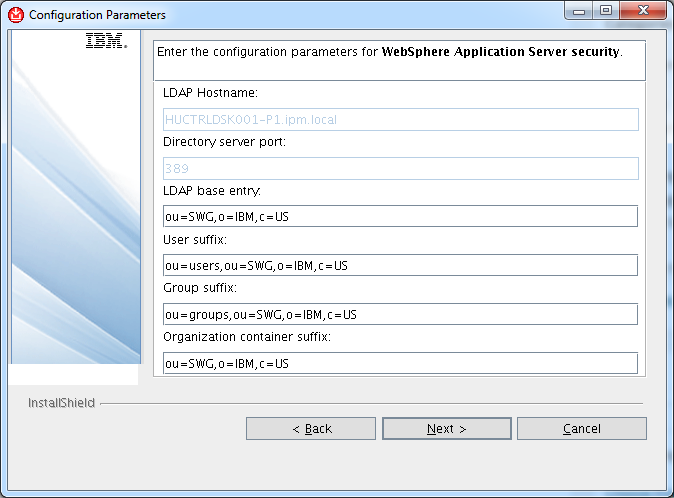
 Leave the default configuration values for the WebSphere Application Server Security, then click Next.
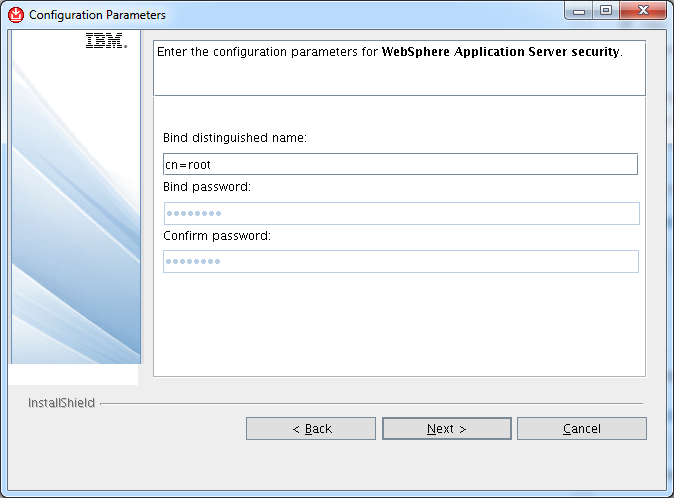
 Leave the default configuration values for the WebSphere Application Server Security, then click Next.
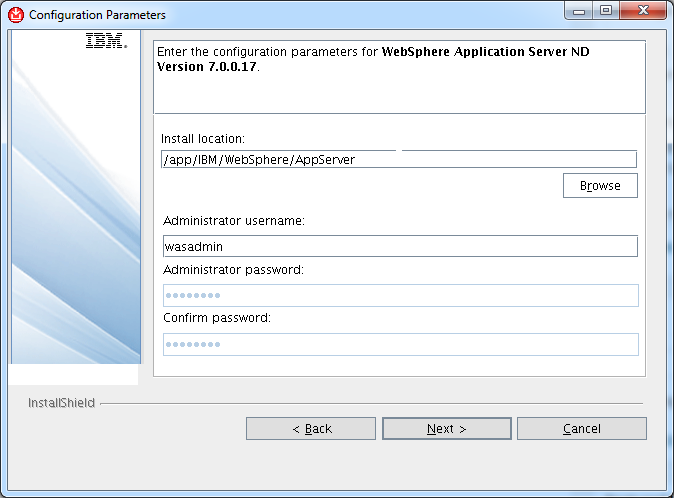
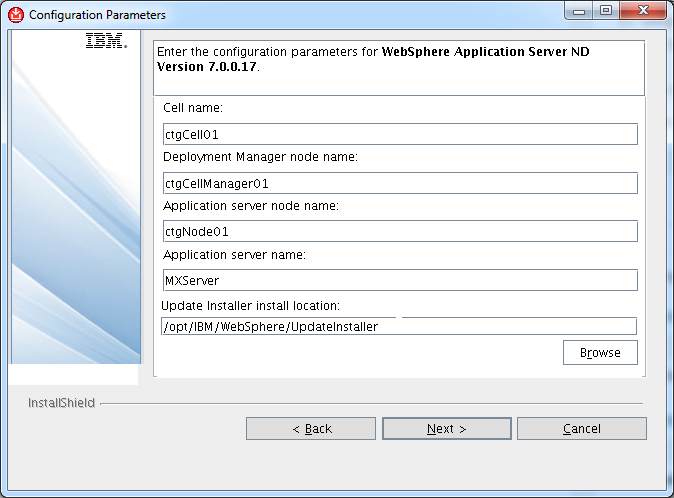
 Leave the default configuration values for the WepSphere Application Server Network Deployment installation, then click Next.
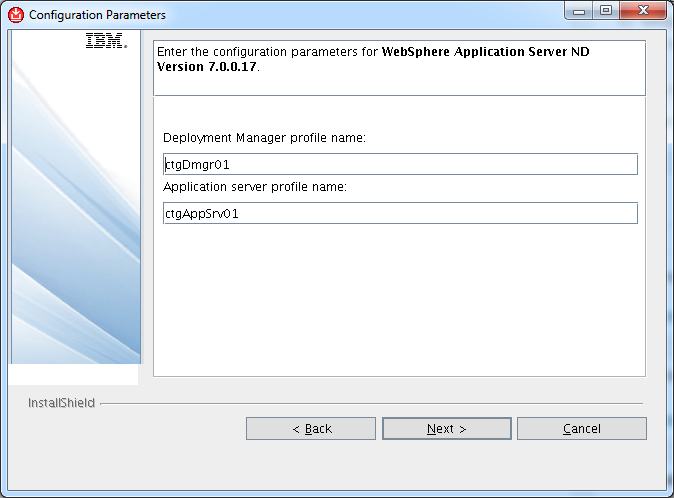
 Leave the default configuration values for the Deployment Manager profile name and the Application Server Profile Name then click Next.
 Leave the default configuration values for the WepSphere Application Server Network Deployment configuration, then click Next.
 Leave the default configuration values for the IBM HTTP Server Installation, then click Next.
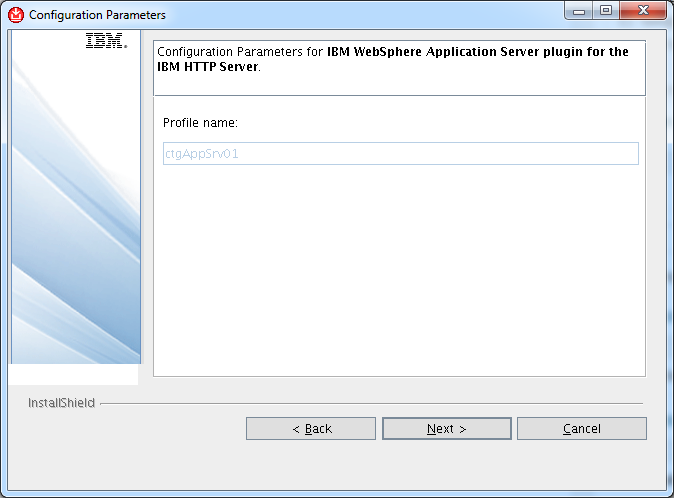
 Leave the default configuration values for the IBM WebSphere application server plugin for the IBM HTTP Server, then click Next.
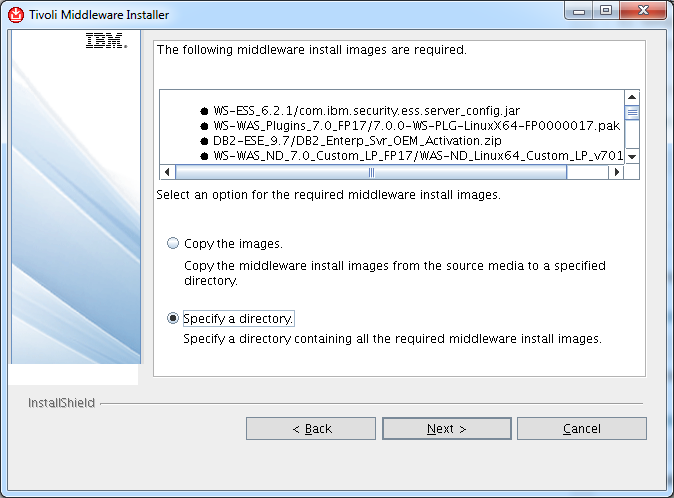
 Select Specify the directory to location where the Middleware installation images are, then click Next.
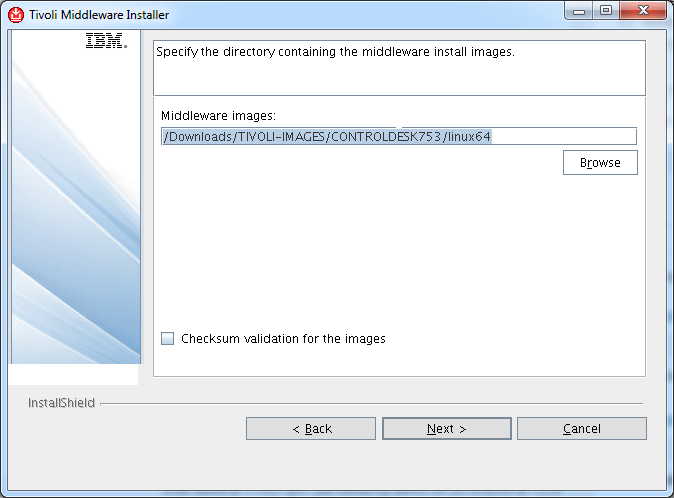
 We copied everything into the root installation directory under the linux64 directory. Select your image location then click Next.
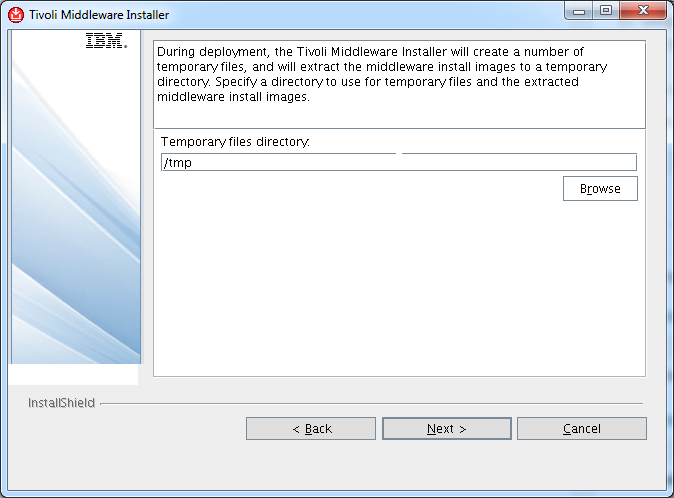
 Specify the temporary directory for the installation, then click Next.
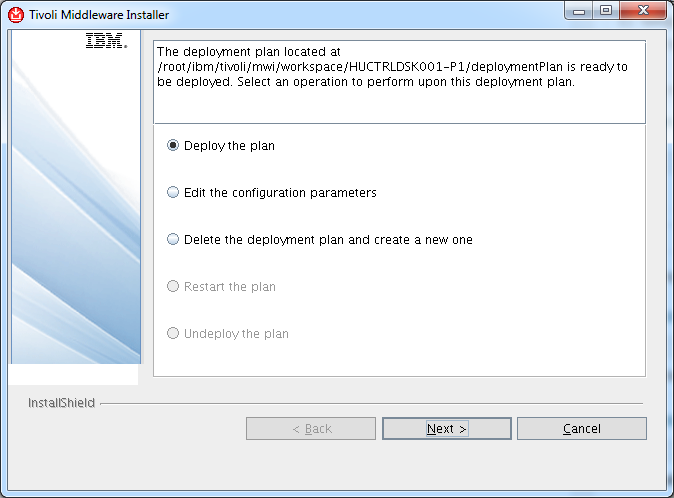
 Select the Deploy Plan option then click Next.
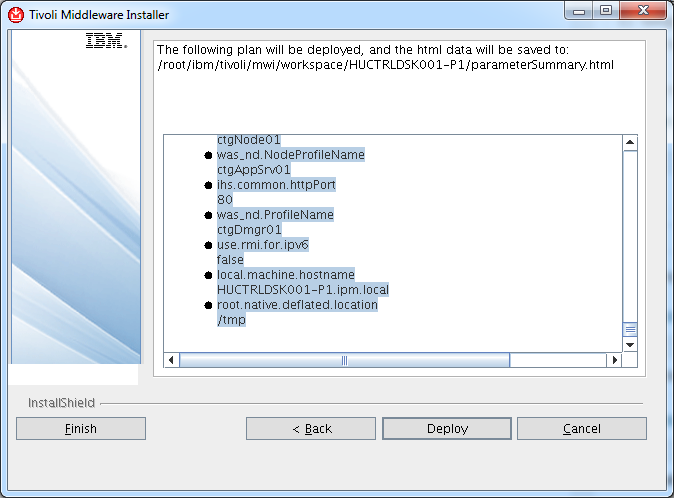
 Review the installation plan then click Deploy to kick off the installation.
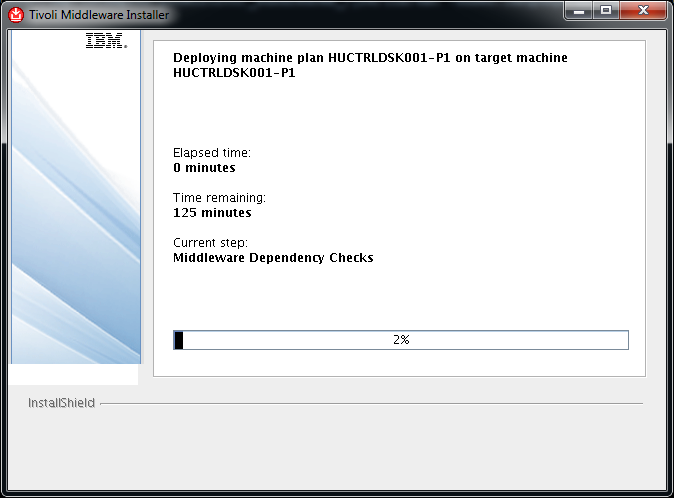
 The installation will take about 125 minutes in our environment. It is time to take a break now.
 If everything goes as expected you should see this:

Installing Control Desk
Once the Middleware is installed we are ready to install the IBM Control Desk Service Provider Edition. Before you start the installation it is important to know that all configuration values will be validated once the Next button is clicked so there should be know unexpected surprises once the physical installation process starts. You will see the Validating inputs dialog a lot during configuration specification.
The installation process does take a very long time. Let the installer finish its procedure. It is not uncommon the the installation is running for more than 8 hours. If you have to stop the installation procedure for some reason, you can resume the installation using taskrunner utility. The utility is located in your control desk installation directory under scripts. Run the following command to continue a halted installation:
./scripts/taskRunner.sh CONTINUE
We start the installation using the command line installer instead of the launchpad. The installer is located in ./Install/ISM directory.
HUCTRLDSK001-P1:/Downloads/TIVOLI-IMAGES/CONTROLDESK753/Install/ISM # ./install_linux64.sh
Entering ./install_linux64.sh at Thu Feb 5 21:36:06 CET 2015.
Preparing to install…
Extracting the JRE from the installer archive…
Unpacking the JRE…
Extracting the installation resources from the installer archive…
Configuring the installer for this system’s environment…
Launching installer…
Select the installation language then click OK.
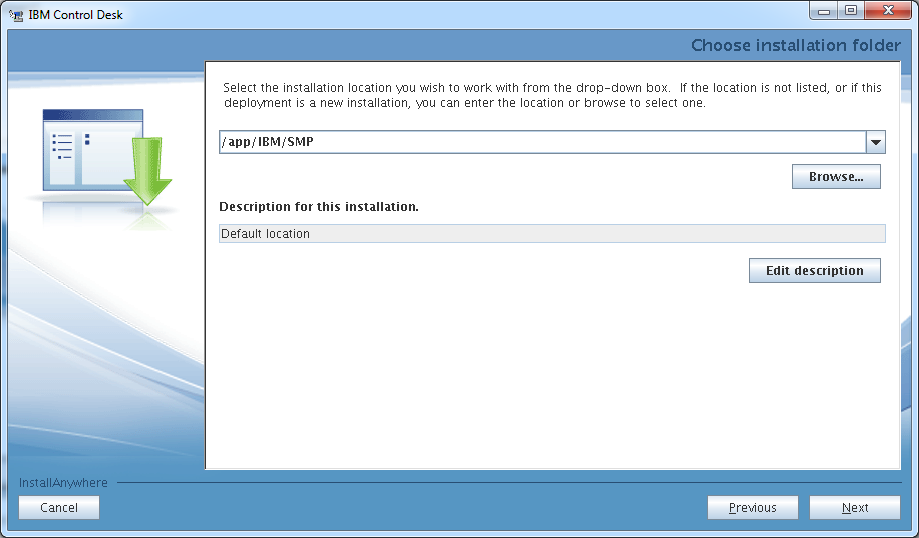
 Click Next at the Introduction window, specify the installation location, then click Next.
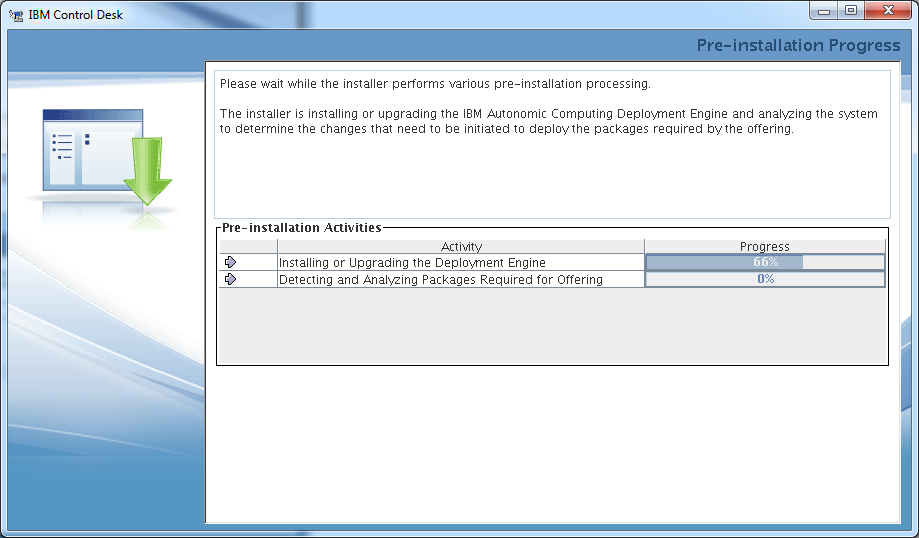
 Click Next after the install location verification, and the pre-installation process starts.
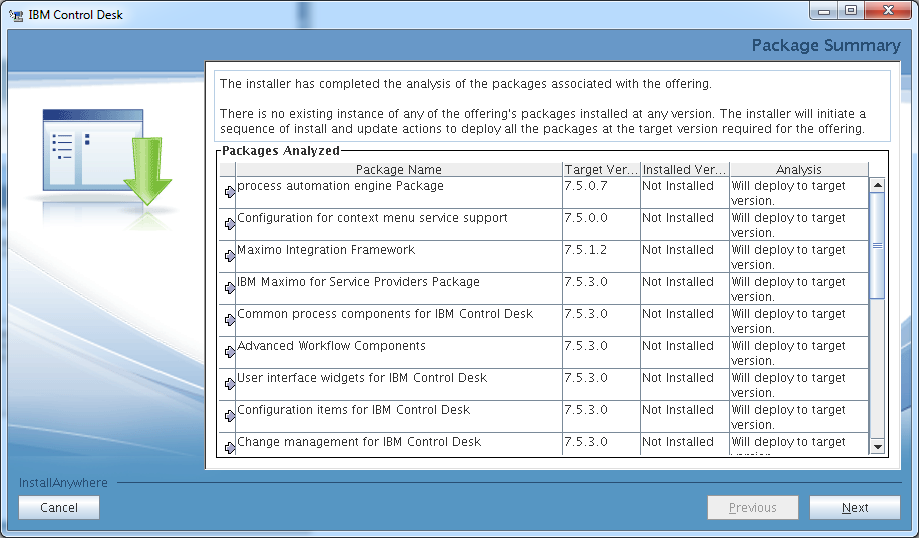
 Check the Package Summary then click Next to continue the installation process.
 Accept the License Agreement then select Custom Deployment in the following window then click Next.
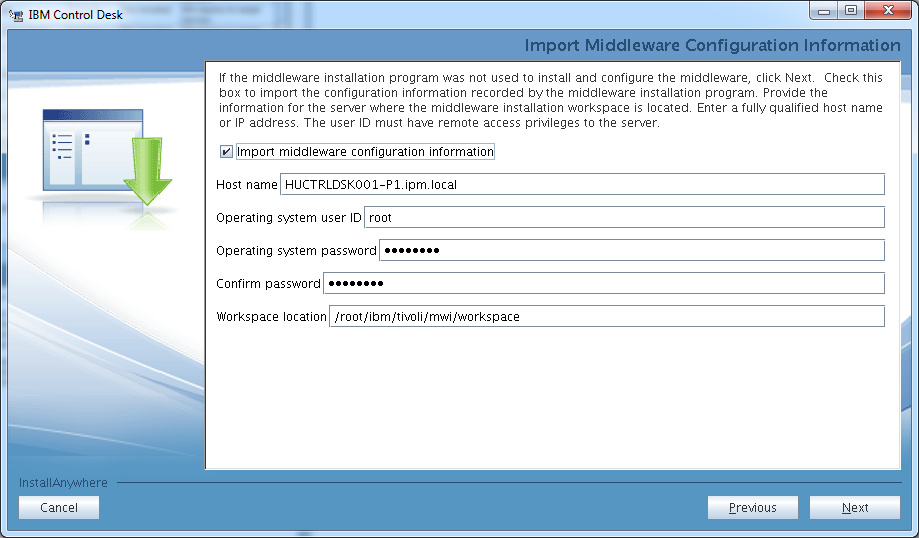
 Select the Import the Middleware configuration information and fill in the fields with your Host name, Workspace location and root account details. This is actually very handy as it will pick up all the Middleware configuration parameters apart from the passwords so most of the following installation parameters will be pre-filled. Click Next to continue the installation.
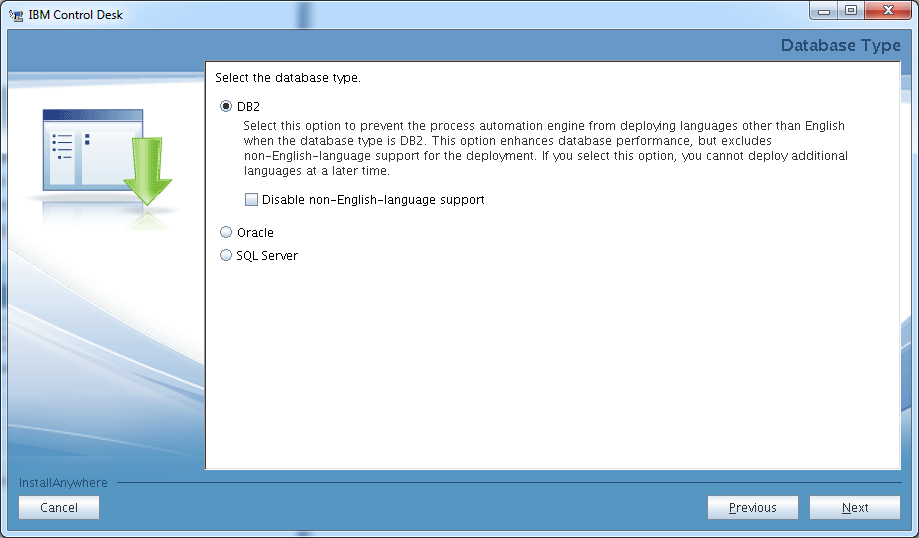
 Select DB2 as the database type then click Next.
 Type the DB2 user password, then click Next.
 Select Automate database creation and configuration as the database is not yet created and we would like the installer to do this for us. Click Next to continue the installation.
  Specify an administrative account such as root so the installer can perform the required database operations. Click Next to continue the installation.
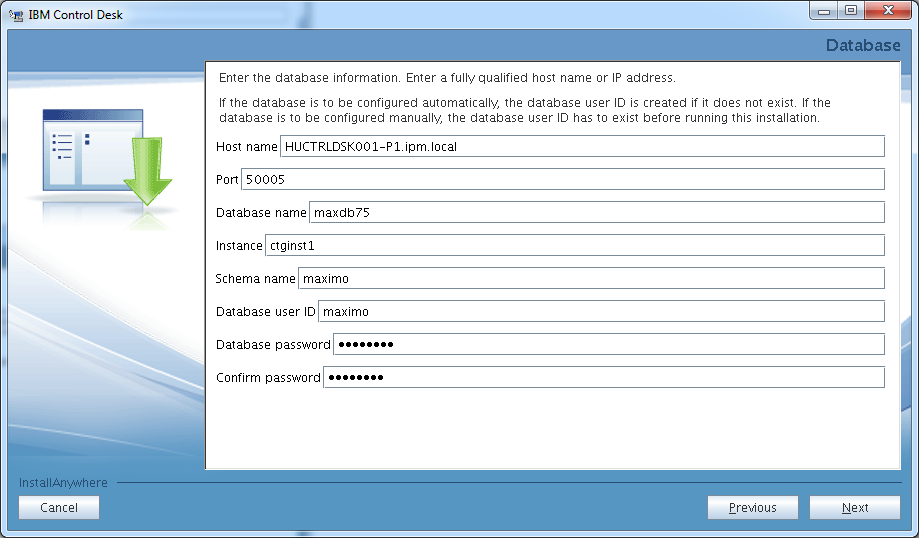
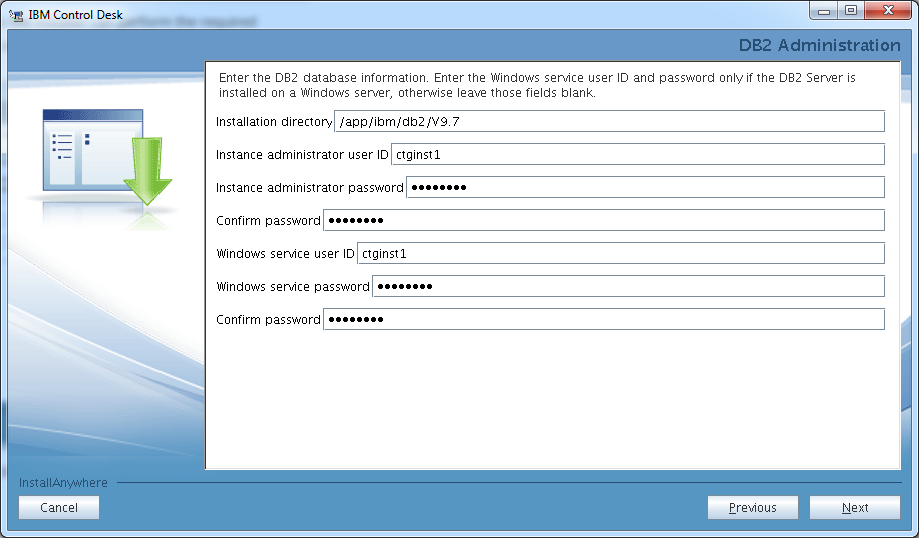
 Specify the required database passwords, then click Next.
 Leave the DB2 table space values on default, then click Next.
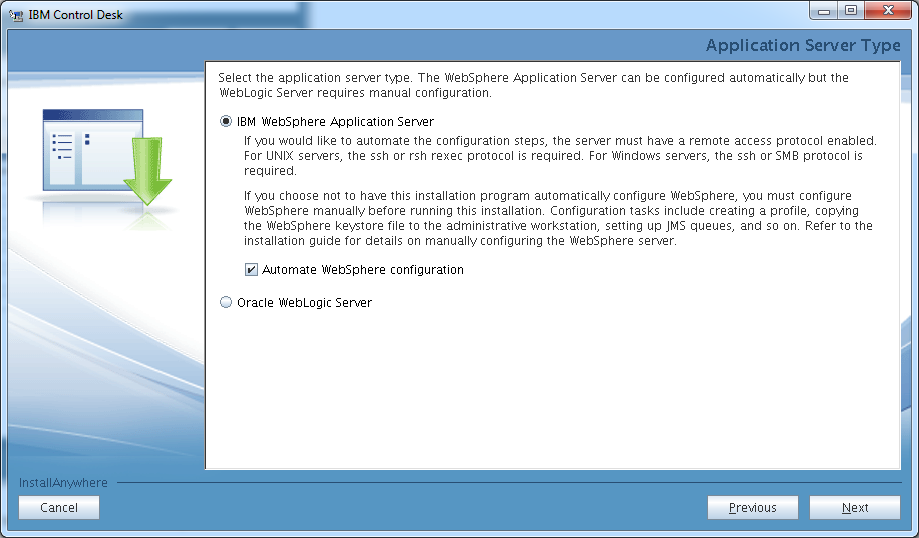
 Select IBM WebSphere Application Server and select the Automate WebSphere configuration option, then click Next.
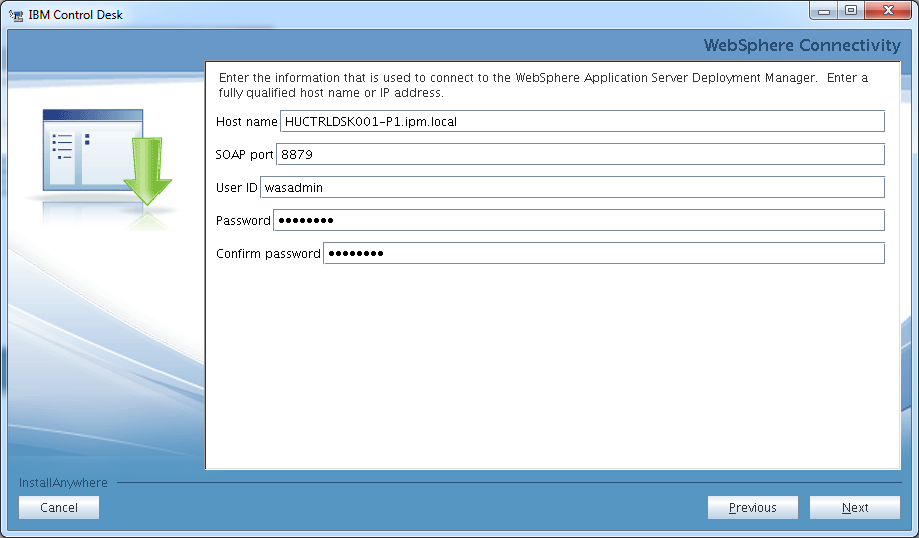
 Specify the wasadmin password then click Next.
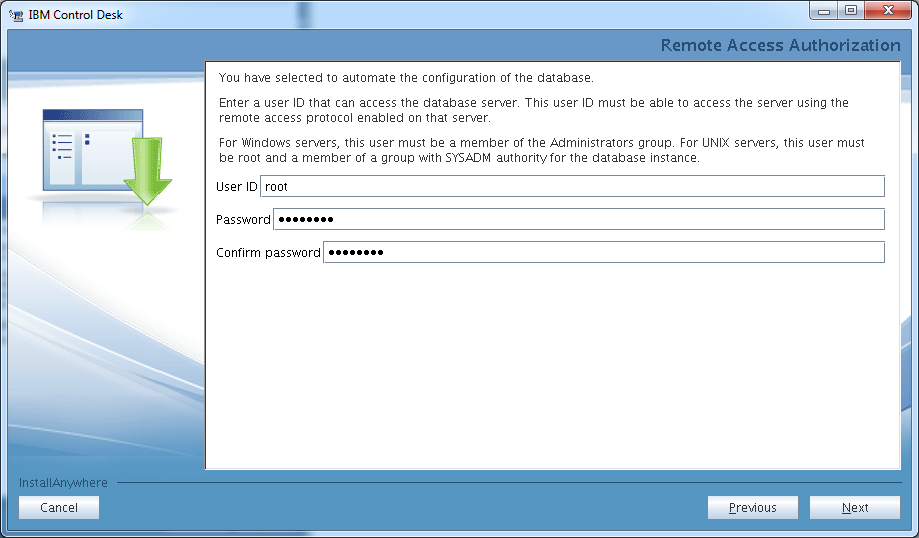
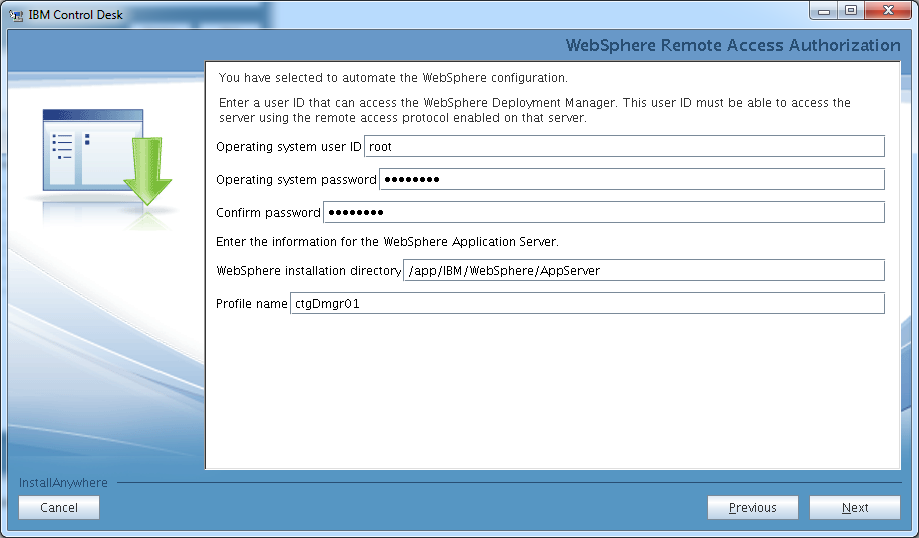
 Specify root and its password for the remote access user, then click Next.
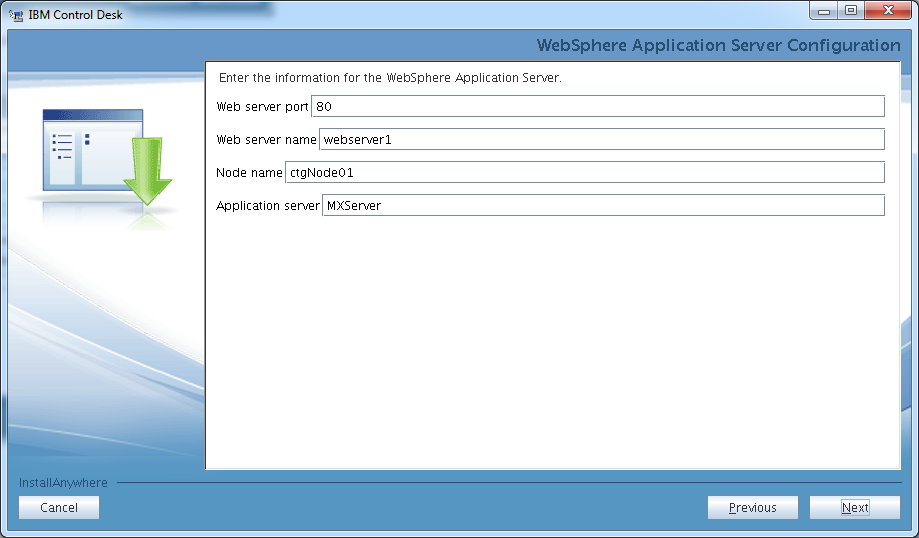
 Leave the WebSphere Application Server Configuration parameters on default and click Next.
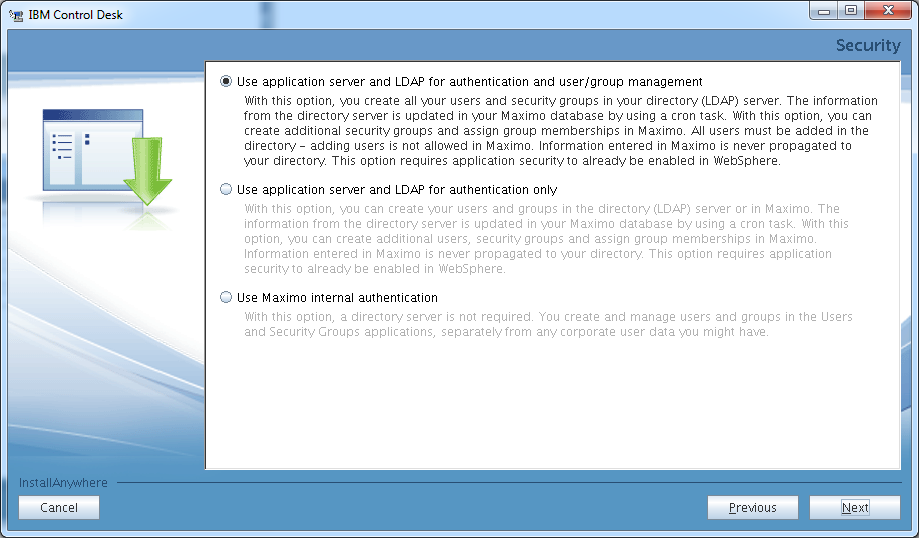
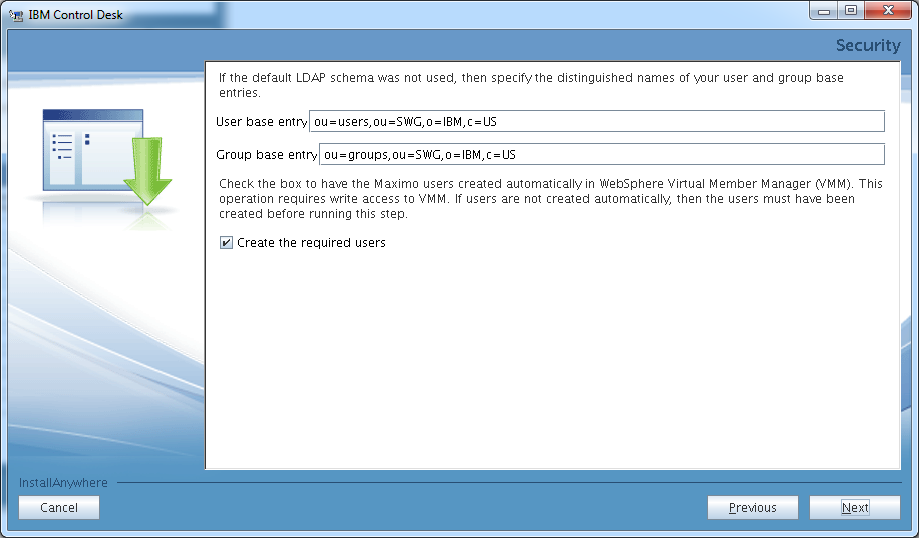
 Since we have the LDAP server pre-installed and configured select the first option at the Security panel then click Next.
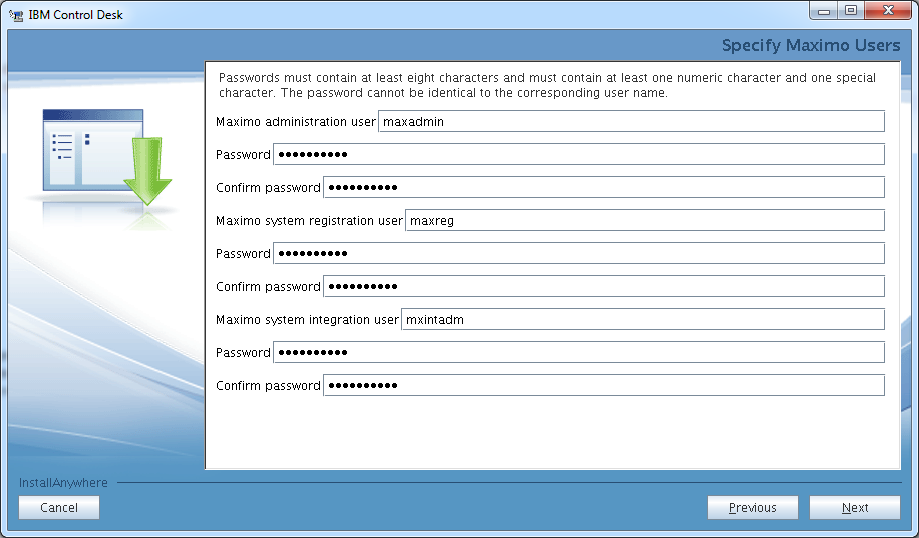
 Specify passwords for the default maximo users. Please note that the password must contain at least one numeric and one special character. Click Next to continue the installation process.
 Leave the LDAP schema settings on default, then click Next.
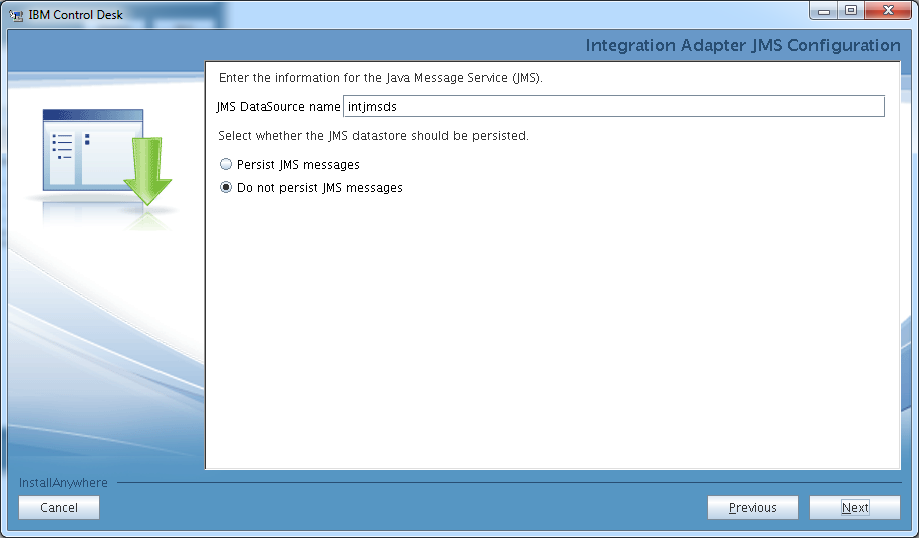
 Leave the JMS settings on default and click Next.
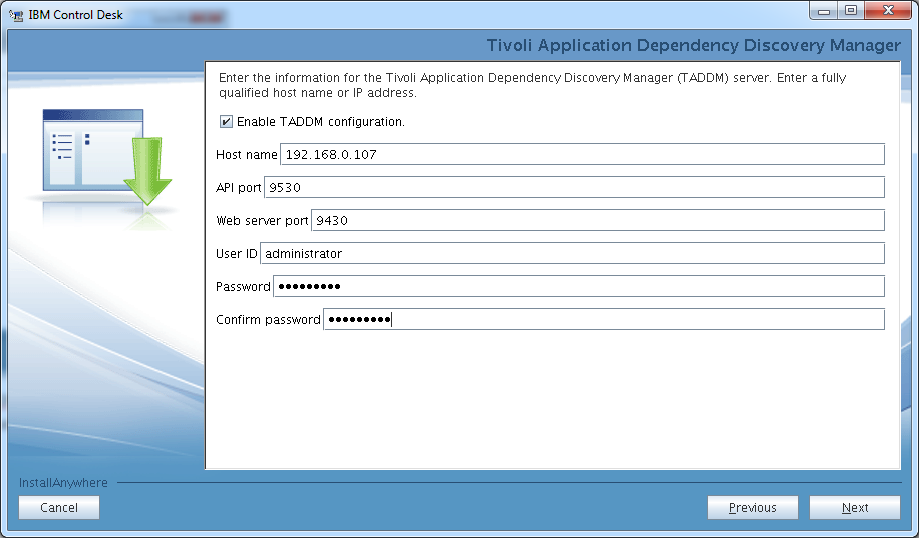
 If you have TADDM already installed you can specify the TADDM connection settings here. Since we have TADDM already rolled out we specify the required values.
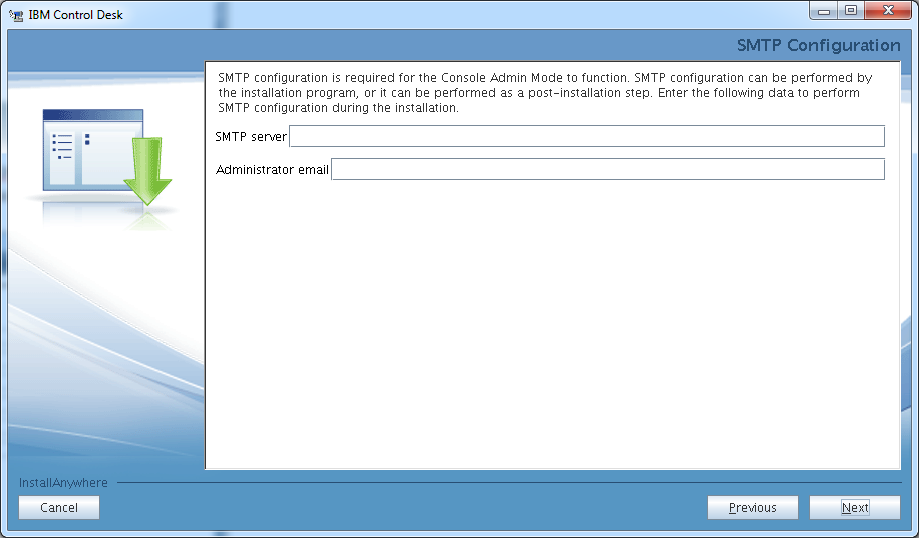
 We do not specify an SMTP server for now. Click Next to continue the installation process.
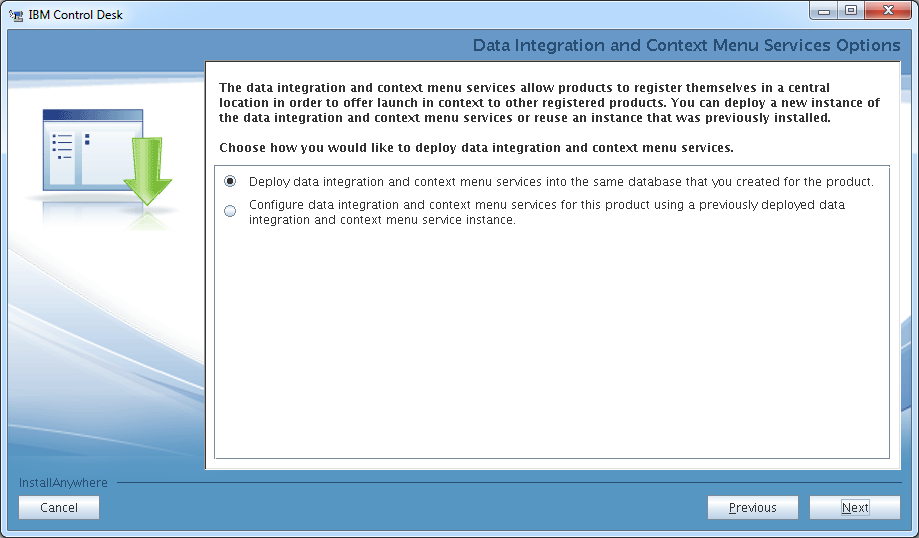
 We use the maxdb75 database for everything so we picked the Deploy data integration and context menu services to the same database option. Click Next to continue the installation.
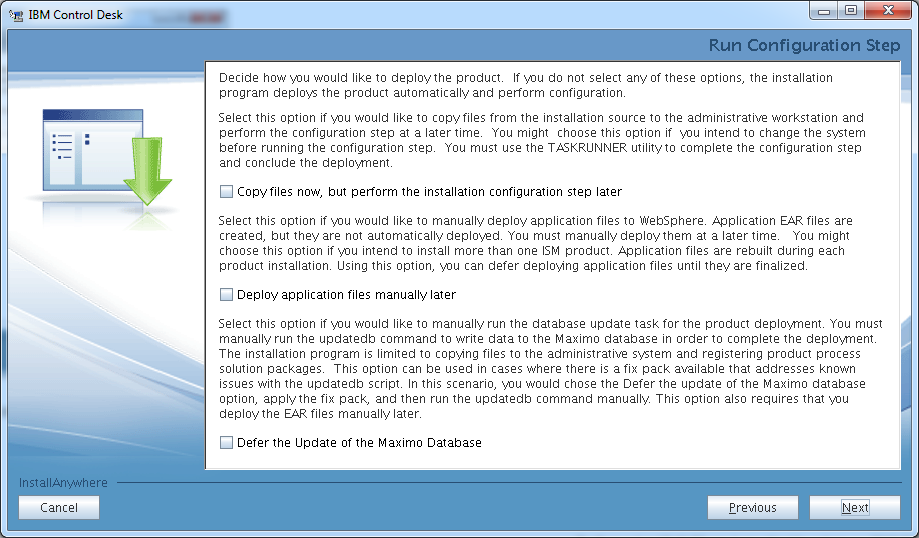
 After selecting the product languages, the installation gets to its final stage, you have various options here to do the installation later or perform actions manually. if you do not pick any of the options the setup program will perform the installation…
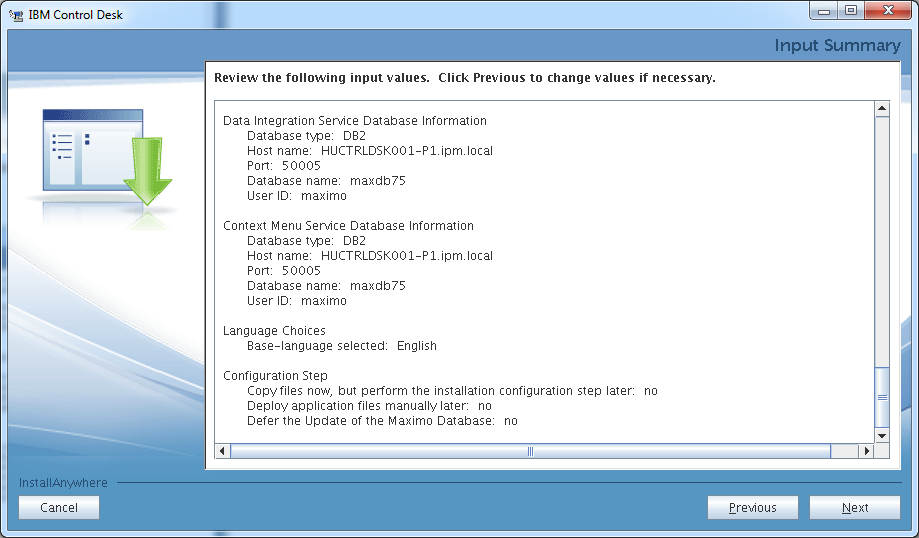
 … once you reviewed your input summary and …
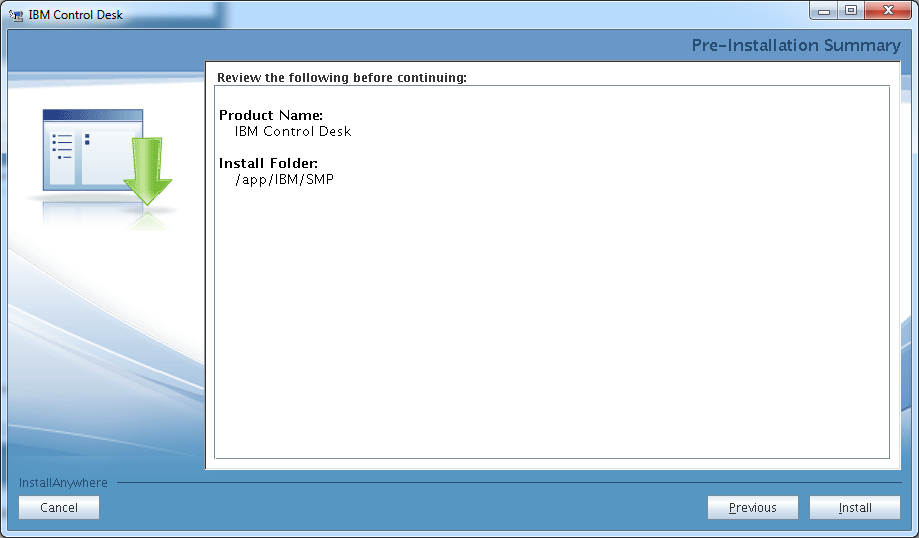
 .. the pre-installation summary. Click Install to start the installation process.
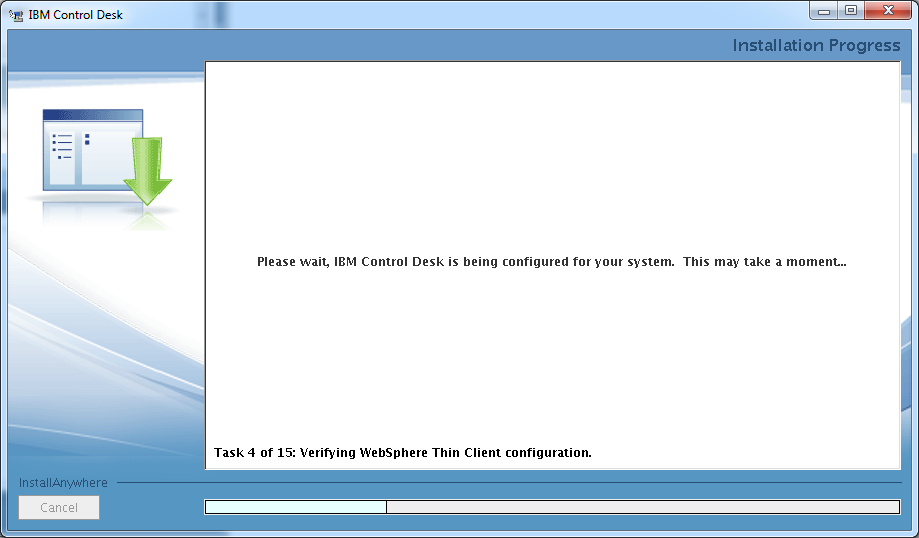
 The installation have 15 stages ( tasks ) and as I pointed out before it will take a very long time. Stage 6 ( Task 6 ) when the Database configuration is happening is a notoriously long process for example. Therefore it is good to use a utility that checks the real time load on your server for example top or htop if you like more visualized results. This way you can see if the installer is actually doing its job.
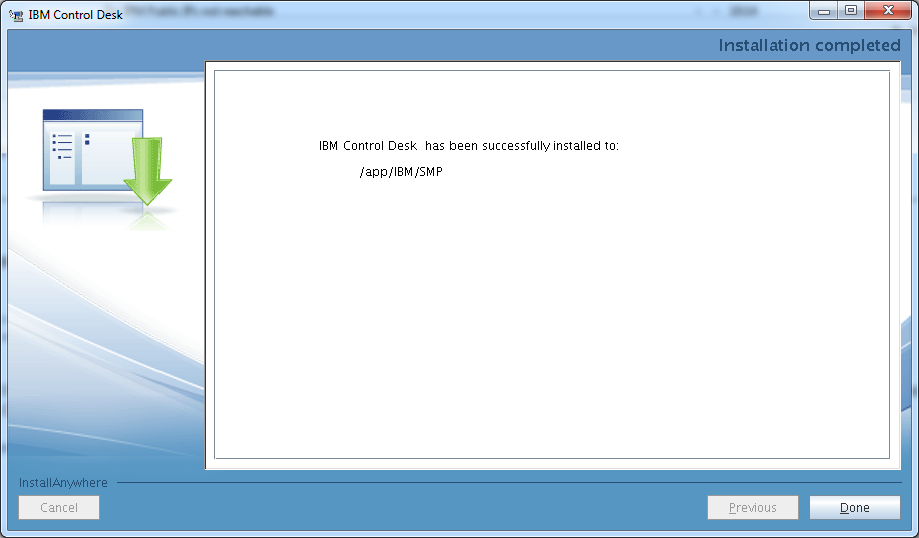
 Upon successful completion you should see the following screenshot.
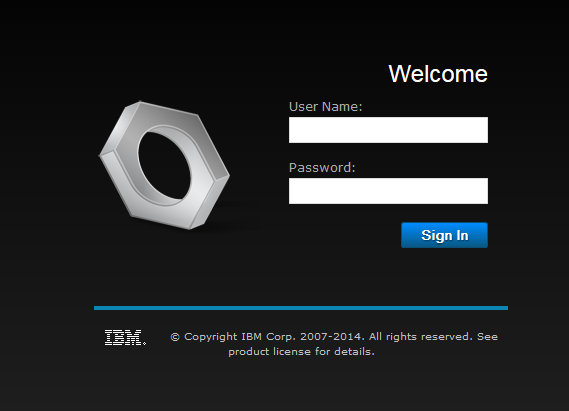
 Open your browser and type the following URL to get to the maximo console:
http://yoursccdhost/maximo
The admin user is maxadmin and use the password you have specified at installation time. If you are not able to log in right after the installation, you will need to restart the server and start up the components one by one. This usually solves the initial login issues for me.
 This is how you start your IBM Control Desk server components:
HUCTRLDSK001-P1:~ # su – idsccmdb -c db2start
02/06/2015 13:48:13 0 0 SQL1063N DB2START processing was successful.
SQL1063N DB2START processing was successful.
HUCTRLDSK001-P1:~ # /opt/ibm/ldap/V6.3/sbin/ibmslapd -I idsccmdb
GLPSRV041I Server starting.
GLPCTL113I Largest core file size creation limit for the process (in bytes): ‘1024’(Soft limit) and ‘-1′(Hard limit).
GLPCTL119I Maximum Data Segment(Kbytes) soft ulimit for the process is -1 and the prescribed minimum is 262144.
GLPCTL119I Maximum File Size(512 bytes block) soft ulimit for the process is -1 and the prescribed minimum is 2097152.
GLPCTL122I Maximum Open Files soft ulimit for the process is 8192 and the prescribed minimum is 500.
GLPCTL121I Maximum Stack Size(Kbytes) soft ulimit for the process was 8192 and it is modified to the prescribed minimum 10240.
GLPCTL122I Maximum Virtual Memory(Kbytes) soft ulimit for the process is 6360560 and the prescribed minimum is 1048576.
GLPCOM024I The extended Operation plugin is successfully loaded from libevent.so.
GLPCOM024I The extended Operation plugin is successfully loaded from libtranext.so.
GLPCOM024I The extended Operation plugin is successfully loaded from libldaprepl.so.
GLPSRV155I The DIGEST-MD5 SASL Bind mechanism is enabled in the configuration file.
GLPCOM021I The preoperation plugin is successfully loaded from libDigest.so.
GLPCOM024I The extended Operation plugin is successfully loaded from libevent.so.
GLPCOM024I The extended Operation plugin is successfully loaded from libtranext.so.
GLPCOM023I The postoperation plugin is successfully loaded from libpsearch.so.
GLPCOM024I The extended Operation plugin is successfully loaded from libpsearch.so.
GLPCOM025I The audit plugin is successfully loaded from libldapaudit.so.
GLPCOM024I The extended Operation plugin is successfully loaded from libevent.so.
GLPCOM023I The postoperation plugin is successfully loaded from libpsearch.so.
GLPCOM024I The extended Operation plugin is successfully loaded from libpsearch.so.
GLPCOM022I The database plugin is successfully loaded from libback-config.so.
GLPCOM024I The extended Operation plugin is successfully loaded from libevent.so.
GLPCOM024I The extended Operation plugin is successfully loaded from libtranext.so.
GLPCOM023I The postoperation plugin is successfully loaded from libpsearch.so.
GLPCOM024I The extended Operation plugin is successfully loaded from libpsearch.so.
GLPCOM022I The database plugin is successfully loaded from libback-rdbm.so.
GLPCOM010I Replication plugin is successfully loaded from libldaprepl.so.
GLPSRV189I Virtual list view support is enabled.
GLPCOM021I The preoperation plugin is successfully loaded from libpta.so.
GLPSRV194I The Record Deleted Entries feature is disabled. Deleted entries are immediately removed from the database.
GLPSRV207I Group conflict resolution during replication is disabled.
GLPSRV200I Initializing primary database and its connections.
GLPRDB126I The directory server will not use DB2 selectivity.
GLPCOM024I The extended Operation plugin is successfully loaded from libloga.so.
GLPCOM024I The extended Operation plugin is successfully loaded from libidsfget.so.
GLPSRV180I Pass-through authentication is disabled.
GLPCOM003I Non-SSL port initialized to 389.
HUCTRLDSK001-P1:~ # su – ctginst1 -c db2start
02/06/2015 13:48:33 0 0 SQL1063N DB2START processing was successful.
SQL1063N DB2START processing was successful.
HUCTRLDSK001-P1:~ # /app/IBM/WebSphere/AppServer/profiles/ctgDmgr01/bin/startManager.sh
ADMU0116I: Tool information is being logged in file
/app/IBM/WebSphere/AppServer/profiles/ctgDmgr01/logs/dmgr/startServer.log
ADMU0128I: Starting tool with the ctgDmgr01 profile
ADMU3100I: Reading configuration for server: dmgr
ADMU3200I: Server launched. Waiting for initialization status.
ADMU3000I: Server dmgr open for e-business; process id is 5078
HUCTRLDSK001-P1:~ # /app/IBM/WebSphere/AppServer/profiles/ctgAppSrv01/bin/startNode.sh
ADMU0116I: Tool information is being logged in file
/app/IBM/WebSphere/AppServer/profiles/ctgAppSrv01/logs/nodeagent/startServer.log
ADMU0128I: Starting tool with the ctgAppSrv01 profile
ADMU3100I: Reading configuration for server: nodeagent
ADMU3200I: Server launched. Waiting for initialization status.
ADMU3000I: Server nodeagent open for e-business; process id is 5273
HUCTRLDSK001-P1:~ # /app/IBM/WebSphere/AppServer/profiles/ctgAppSrv01/bin/startServer.sh MXServer
ADMU0116I: Tool information is being logged in file
/app/IBM/WebSphere/AppServer/profiles/ctgAppSrv01/logs/MXServer/startServer.log
ADMU0128I: Starting tool with the ctgAppSrv01 profile
ADMU3100I: Reading configuration for server: MXServer
ADMU3200I: Server launched. Waiting for initialization status.
ADMU3000I: Server MXServer open for e-business; process id is 5436
HUCTRLDSK001-P1:~ # /app/IBM/HTTPServer/bin/apachectl start
We have a post with more detailed information about the components start up here.
IBM Control Desk Service Provider Edition Configuration & installation articles:
Installing the IBM Tivoli Integration Composer
Integrating TADDM and Control Desk using Integration Composer