In this article we will install and configure the Netcool Omnibus SCOM 2007 Probe. The probe will be installed on a separate machine and will contact the SCOM server across the network.
The following steps will be performed to achieve the integration:
- Install probe support
- Install the SCOM probe
- Configure the SCOM probe to communicate with the probe server and connect to the Omnibus server
- Configure SCOM to work with the probe
We used Netcool Omnibus version 7.4 and Windows 2008 R2 for the operating systems.
Install probe support
Start the installation by executing the install.exe coming with the Netcool Ombibus Server installation image.
 Click OK to continue the installation.
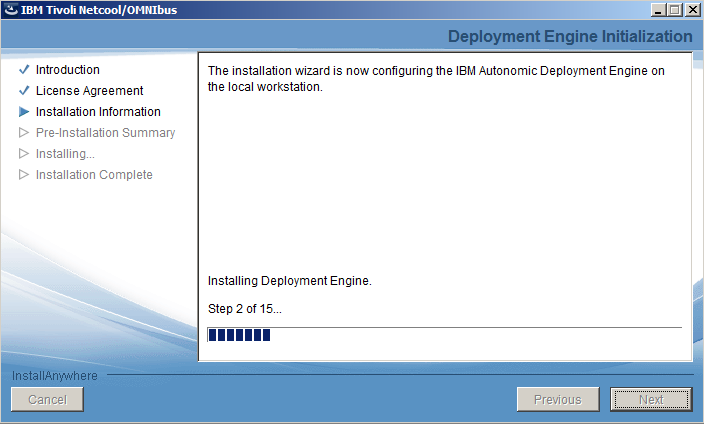 Accept the license agreement then click Next to start the configuration of the Autonomic Deployment Engine.
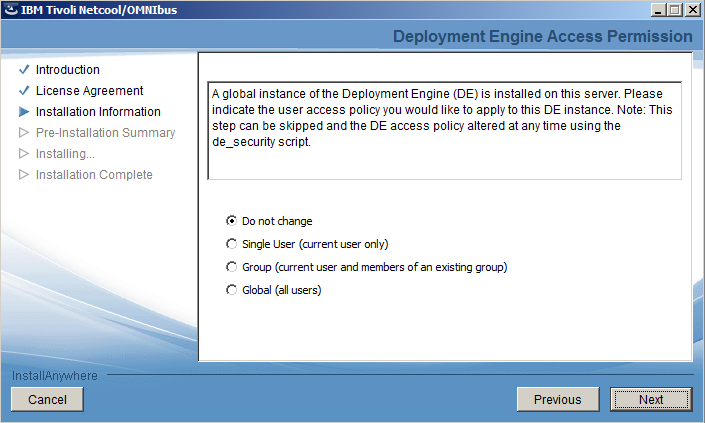 Select Do not change at the Deployment Engine Access Permission windows and click Next to continue the installation.
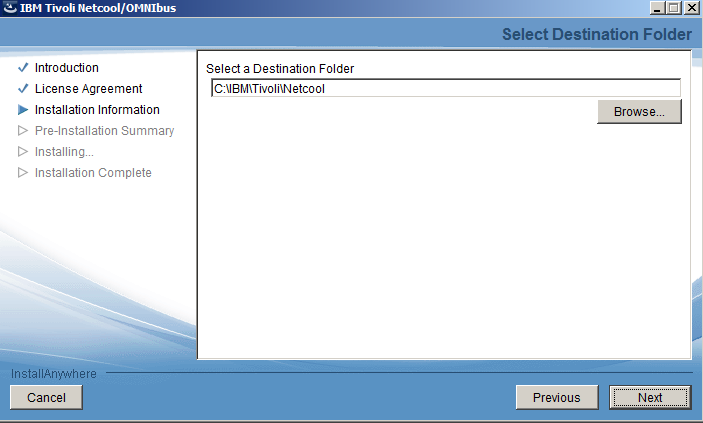 Select the Destination Folder and click Next to continue. We used the default folder offered.
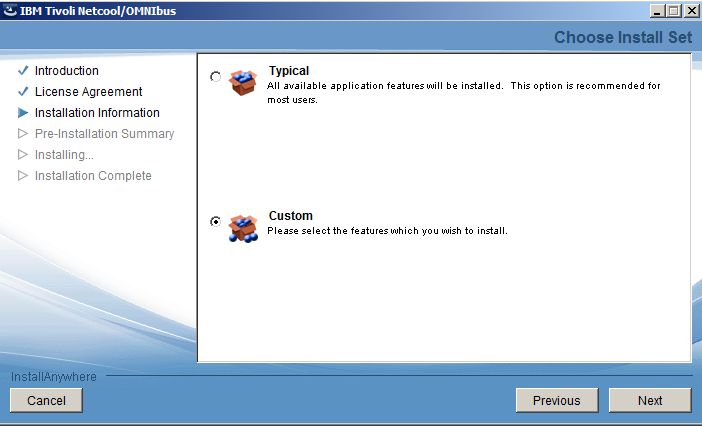 Select Custom at the Install Set selection and click Next.
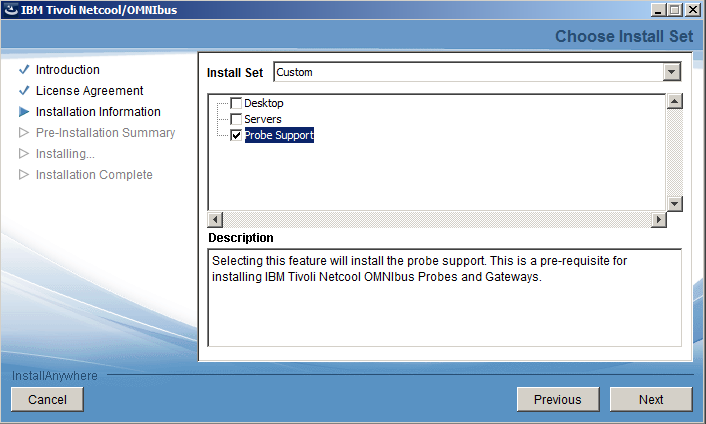 Select Probe Support only and continue the installation by clicking the Next button.
 Click Install to kick off the installation procedure.
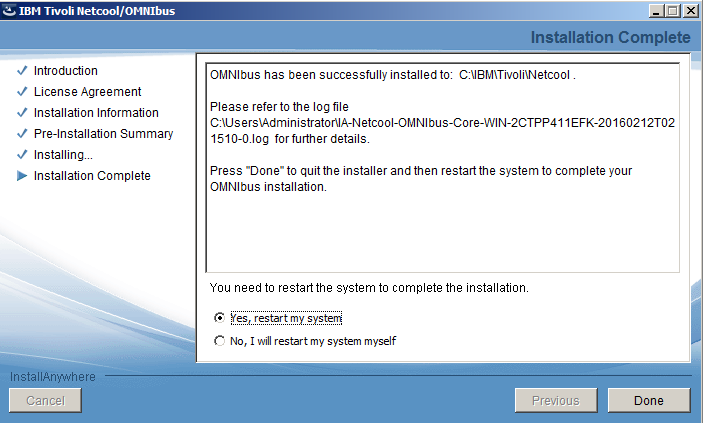 Reboot your windows system to finalize the installation.
Install the SCOM probe
Unpack the probe zip file into a directory of your choice.
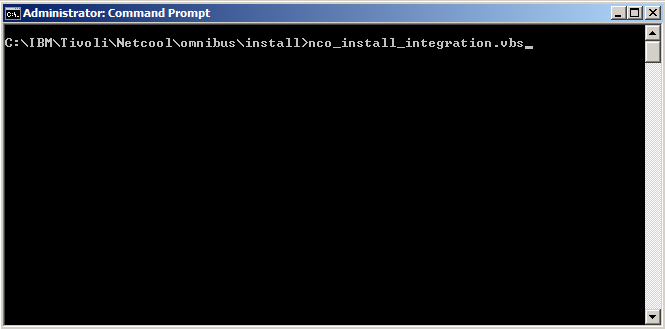 Start the nco_install_integration.vbs located in C:\IBM\Tivoli\Netcool\omnibus\install if you used the default omnibus installation folder.
Click OK to continue the installation.
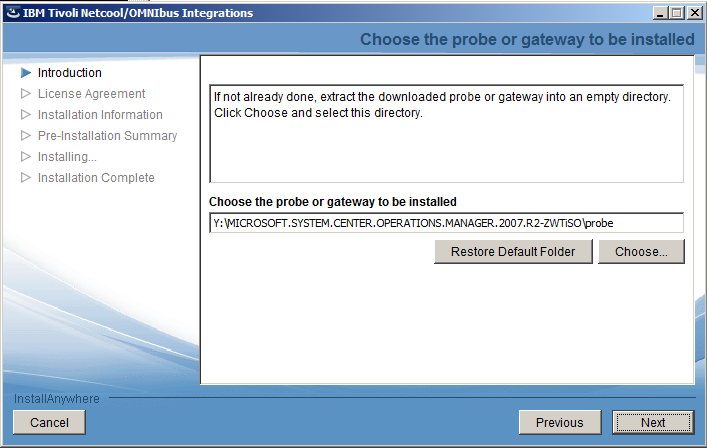 Locate the directory where you unpacked the probe file. You need to specify the directory that contains the COI directory then click Next.
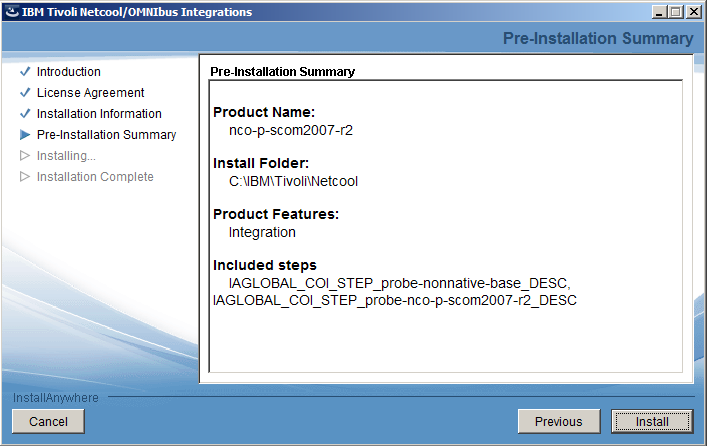 Accept the License Agreement at the next screen then click Install to start the installation of the SCOM probe.
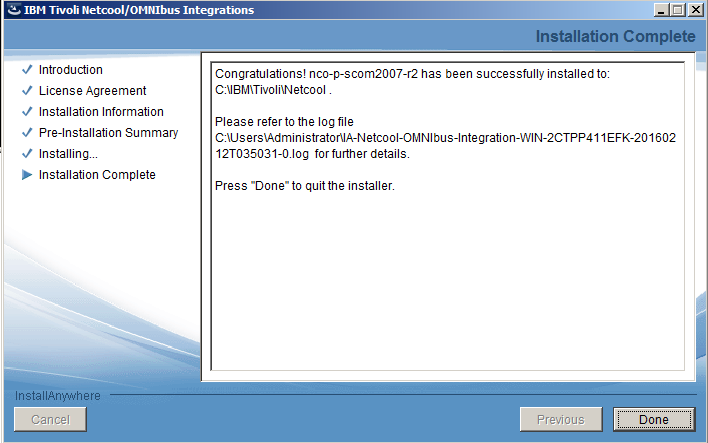 The installation of the SCOM probe is now complete.
Configure the SCOM probe to communicate with the probe server and connect to the Omnibus server
As a first step you need to specify your omnibus servers in the server editor.
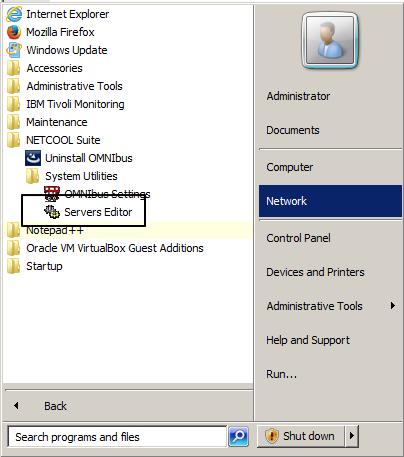
You can start the server editor by going to the Start Menu -> Netcool Suite -> System Utilities -> Servers Editor
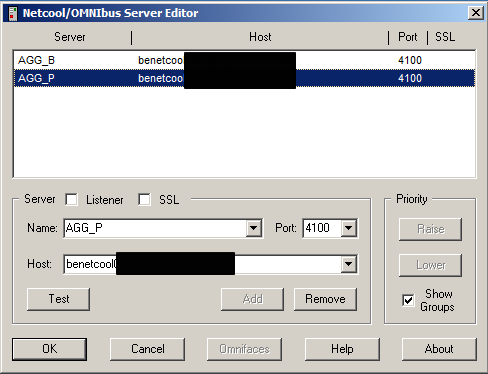
Add your object servers on the list in the server editor, you can delete whatever you find there by default as it is irrelevant for the current setup.
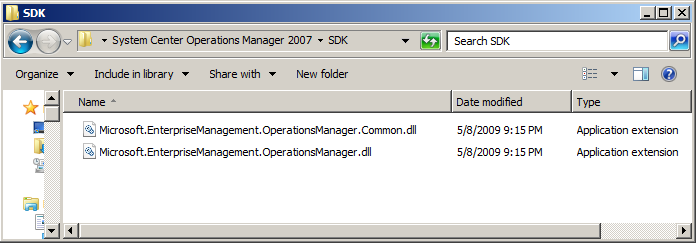 The next step is to move the SCOM SDK files from the SCOM Server to the probe machine. You will need to have the copy the following files in the following directories:
- C:\Program Files\System Center Operations Manager 2007\SDK Binaries\BinariesMicrosoft.EnterpriseManagement.OperationsManager.dll
- C:\Program Files\System Center Operations Manager 2007\SDK Binaries\Microsoft.EnterpriseManagement.OperationsManager.Common.dll
The following task is to modify the probe’s configuration file.The probe files are located in C:\IBM\Tivoli\Netcool\omnibus\probes\win32 directory if you used the default installation folder. Modify the scom2007r2.props file by adding the following:
Server : “AGG_P”
ServerBackup : “AGG_B”
ConnectorName : “Netcool probe”
ConnectorUser : “youruser”
ConnectorPassword : “yourpassword”
ConnectorDomain : “yourdomain”
ScomHost : “your_scom_hostname_or_ip”
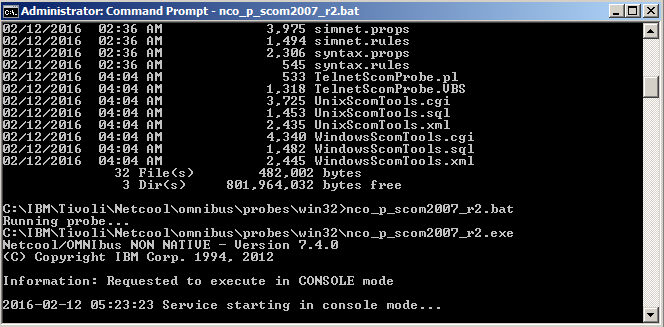 Now you should start the probe with the following command: C:\IBM\Tivoli\Netcool\omnibus\probes\win32\nco_p_scom2007_r2.exe If the probe stays running that means it has successfully connected to both the Object server and the SCOM 2007 Server.
Configure SCOM to work with the probe
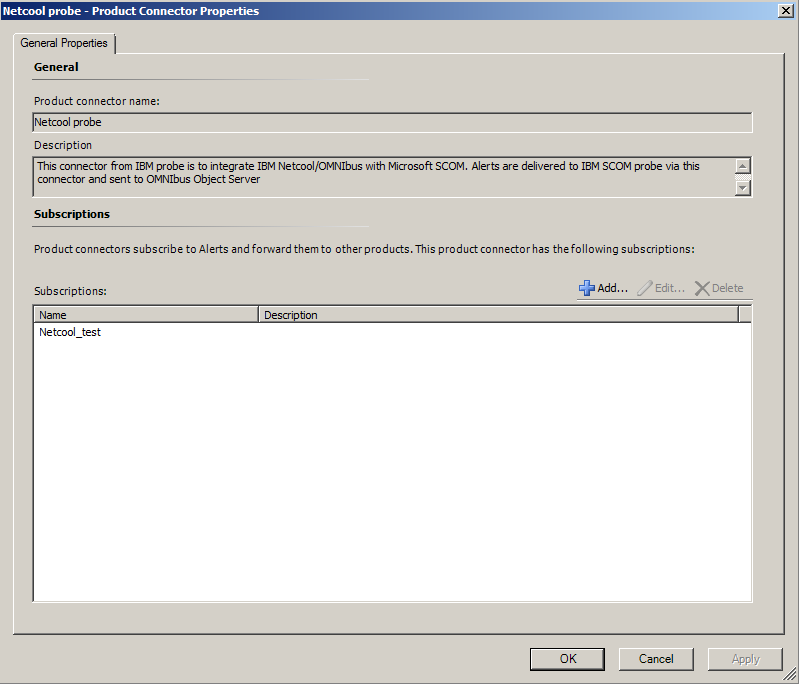
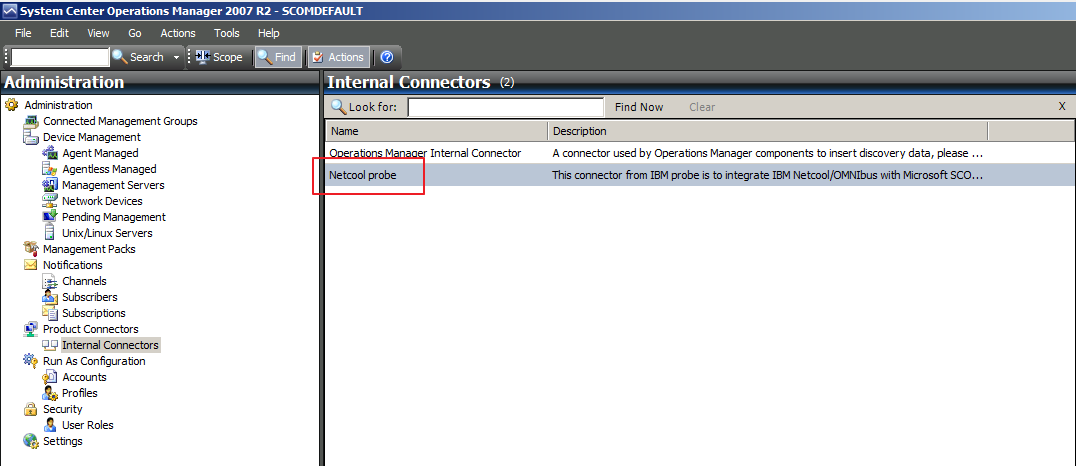 Once the probe connects to the SCOM server successfully it will create the Netcool Probe product connector.
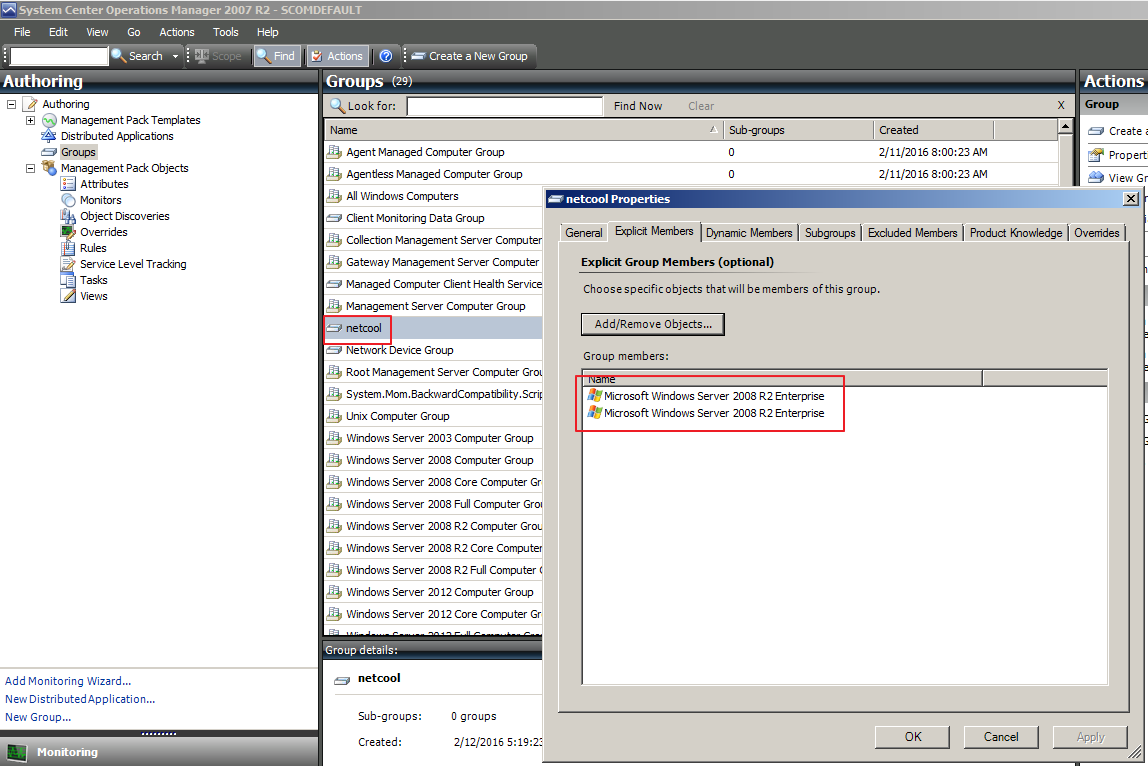 We set up a group called netcool and assigned 2 Windows 2008 servers to it.
 If you need to filter on what nodes or events should hit the Probe, you can do so by setting up a groups and assigning them to the Netcool probe connector. Click on the Add button.
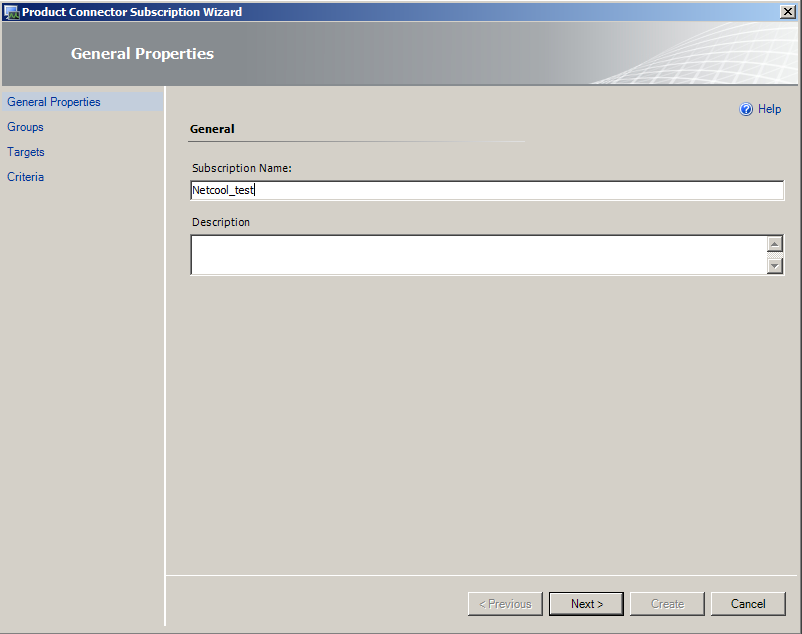 Assign a name to the Subscription then click Next.
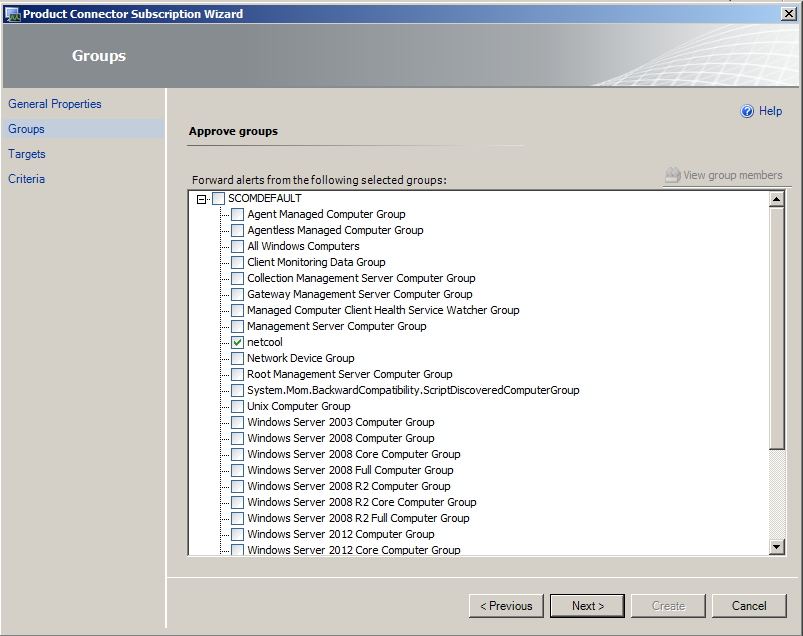 Select “netcool” from the groups list then click Next.
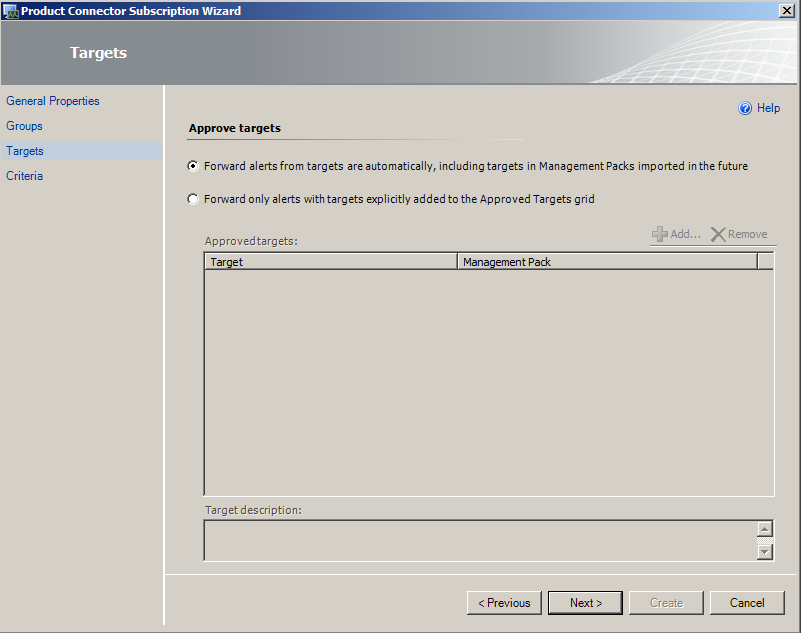 Leave the default option at the approve targets screen and click Next.
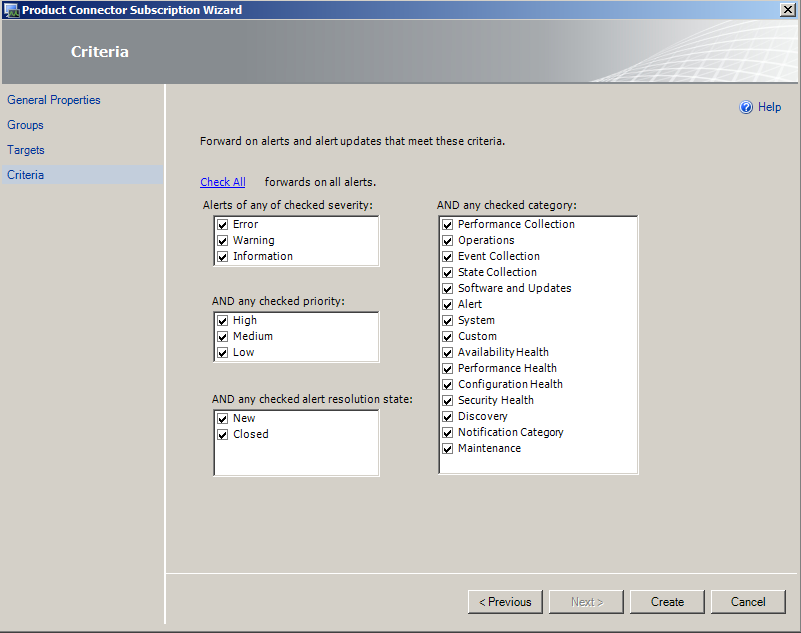 Select the desired items you would like to have alerts raised for and click Create.
 The subscription is now created and the events should start flowing across to Omnibus.

Brilliant write-up. Like how end-to-end it is.
Don’t suppose you have any experience of installing on SCOM2012. Any gotchas?
Thank you.
It is pretty much the same but you will need to use the probe for SCOM2012 🙂
Hi,
We are running with netcool version 7.1
ANd now we are planing to install scom probe on Netcool 7.1.
It is compatibility or not. If yes, please let me know the scom probe version.
Regards,
Mohan.
You have to check this with IBM, I am unsure about compatibility. Just search for tivoli supported platforms and compatibility matrix.