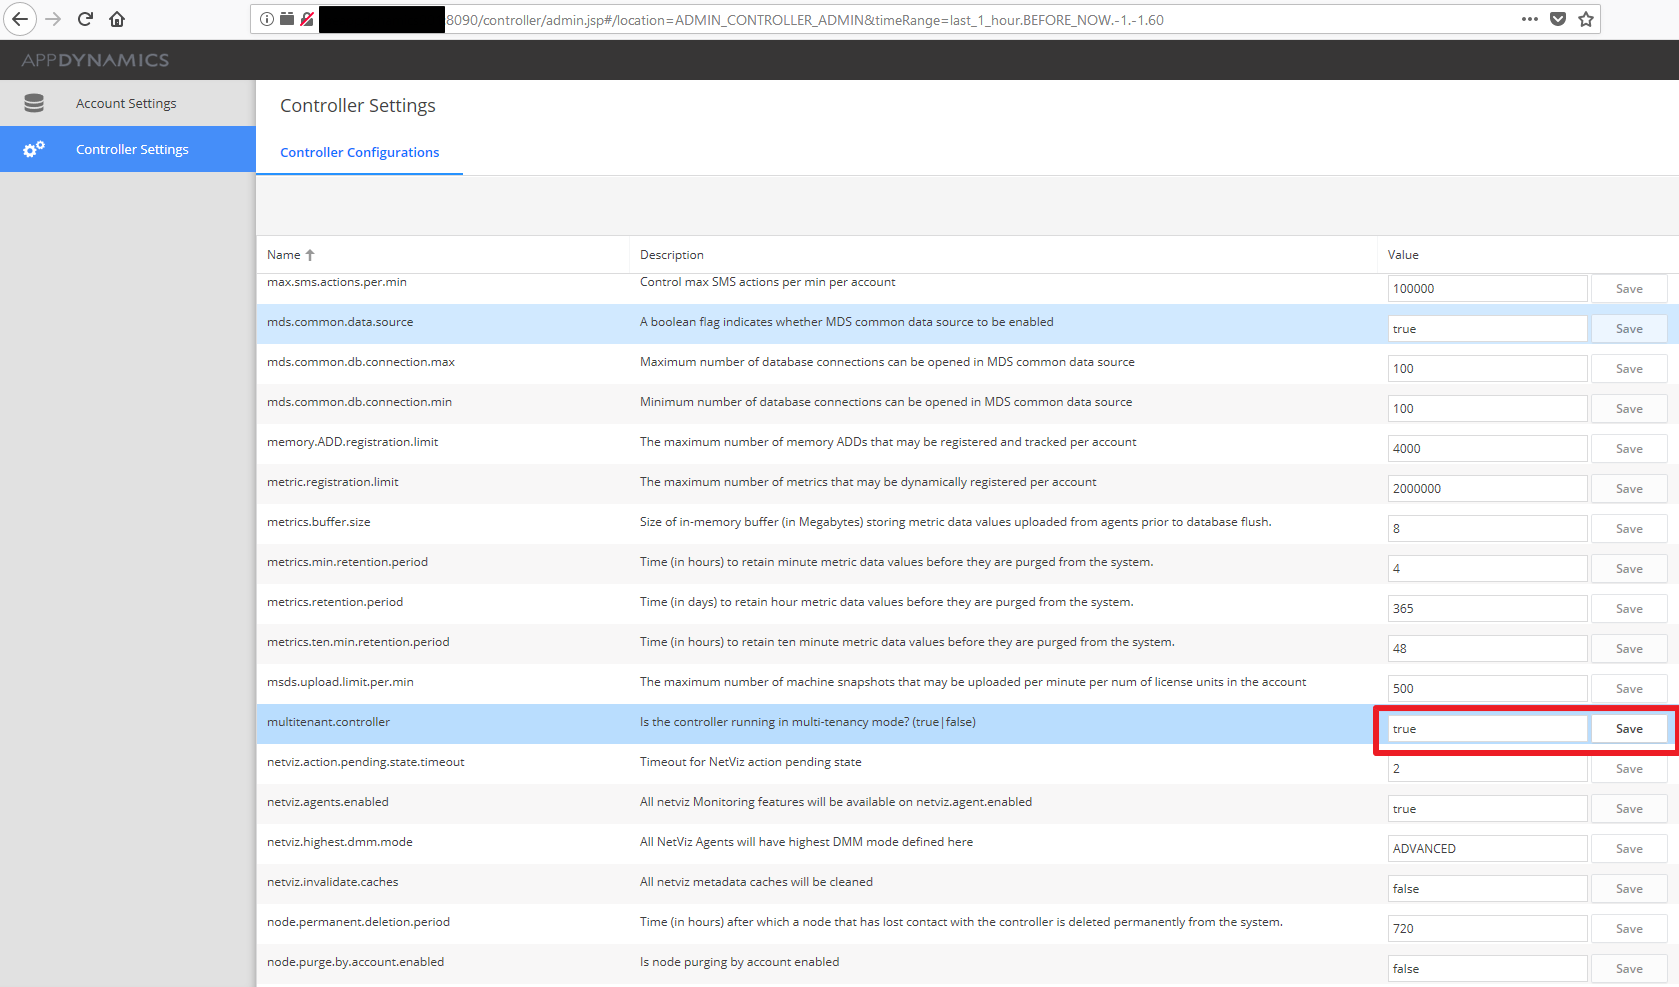
Setting up multitenancy in Appdynamics is relatively easy. This is basically a setting at the controller’s admin console not to be confused with the standard console. You can access your controller admin console at http://hostname:8090/controller/admin.jsp
Once you are logged into the controller’s admin backend click on Controller Settings, then locate multitenant.controller setting and set it to true. Please note that once you set your controller to multitenant mode it can not be switched back anymore.
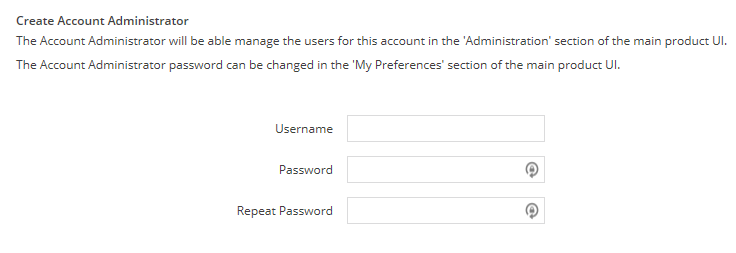
 Click Account Settings to and click Add set up a new customer account. You have to specify the account admin user, its password.
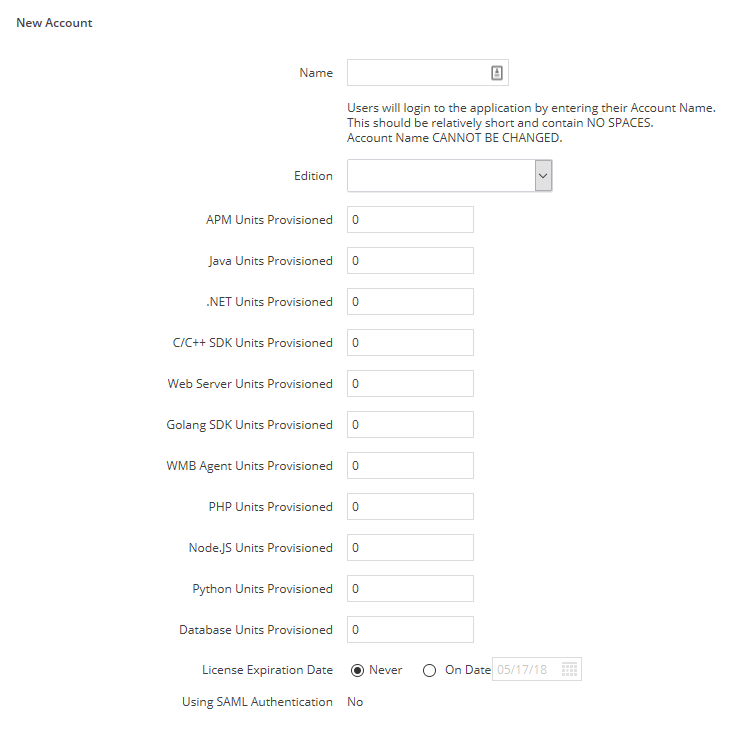
 Also specify the number of licenses you want to use for this account and the account’s name.
 Once the account is set up you can log off this console and try logging in to your Appdynamics admin panel by visiting https://hostname:8090.
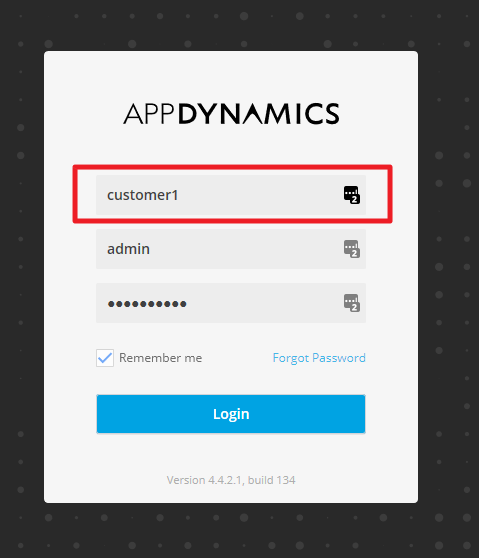
You should see a new field on the login screen asking for the account name you would like use along with the user id and password. Specify your recently created account name, the account admin user and its password to log in.
You should see an empty console when you log in just like this one below.
 If you would like to add agents to this newly created account you will have to use the new account name and its account access key ( can be found at the account setup in the controller admin console ) at installation time or just simply change these settings in the controller-info.xml if you already have agents on those servers. Using separate account name and account access key for each customer is how Appdynamics separates one account from an other.