In this step by step guide we will create a new Virtual server instance for VPC on IBM Cloud. The creation of a virtual machine under this new option tends to be more complicated than creating a simple virtual machine in the Classic Infrastucture. Let’s get right to it.
Prerequisites
There are number of prerequisites that need fulfilling before the actual creation of the virtual machine.
Create an SSH key pair
The virtual machine will be created without a root password. In order to be able to log in to your new virtual machine you will need to use an SSH key pair which is to be generated manually.
We used an Ubuntu linux session to generate a key pair for the root user by executing the following command:
ssh-keygen -t rsa -C “root”
Generating public/private rsa key pair.
Enter file in which to save the key (/root/.ssh/id_rsa): /app/root
Enter passphrase (empty for no passphrase):
Enter same passphrase again:
Your identification has been saved in /app/root
Your public key has been saved in /app/root.pub
This procedure generates a public and a private key. We named the public key file to root.pub and the private key was automatically saved as root.
Open IBM Cloud in your browser and navigate to the SSH Keys. VPC Infrastructure -> SSH keys

Click on Create at the SSH keys for VPC screen.

Fill in the information at the next pop up window. Name your certificate and copy paste the public key into the text area in the bottom ( we won’t show that ). If you filled in all the details correctly the Create button will turn blue. Click on that button to continue.
If you face an error here stating that the certificate is incorrect it might be that you tried to copy it across from a Linux shell by cat-ing the file. Open the public key in a text editor and copy it across from there.

Once you have created the ssh key it will show up on the SSH keys for VPC list.

Create Floating IPs for VPC
Floating IPs are basically public ip addresses. To be able to access the server using SSH at the first time a floating ip will be bound to the Virtual server instance for VPC which we will create later on.
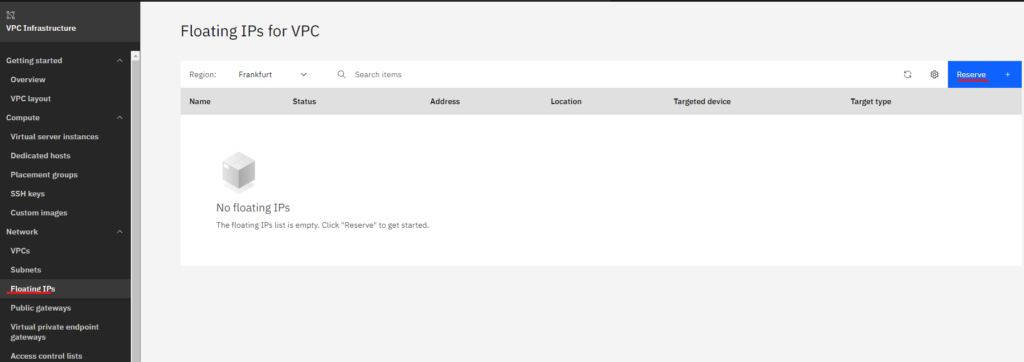
Navigate to VPC Infrastructure -> Floating IPs then click Reserve.


The floating ip is now created.

Create the Virtual server instance for VPC
Now we have the prerequisites in place it is time to create our VM for VPC.
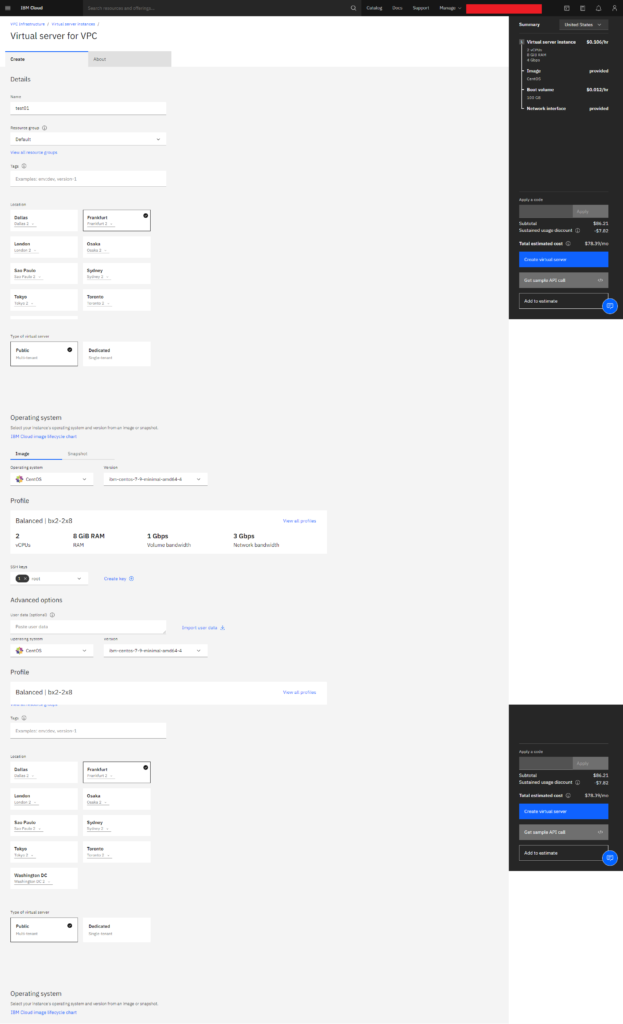
Navigate to VPC Infrastructure -> Virtual server instances and click on Create

Add the name of you choice and select the ssh keys you have created previously, then click Create virtual Server.

Your virtual server is now created. The vm will only have a Private IP.

Navigate to VPC Infrastructure -> Floating IPs, right click on the drop down menu and select Bind.

Select the VM instance you have created at Resource to bind then click Bind.

The status is now greened out showing Bound and the Targeted device should show your vm.

Log into the server using ssh from an other linux server or desktop using the following command:
ssh -i root root@xxx.xxx.xxx.xxx <- Floating ip
after the -i you have to specify the private key filename which is in our case is root.
root@localhost:/app# ssh -i root root@xxx.xxx.xxx.xxx
The authenticity of host ' xxx.xxx.xxx.xxx  ( xxx.xxx.xxx.xxx )' can't be established.
ECDSA key fingerprint is SHA256:+wb+ApkNLds5hup2vMWEuvUSoabXppaG1ZCh0FzLrVw.
Are you sure you want to continue connecting (yes/no/[fingerprint])? yes
Warning: Permanently added ' xxx.xxx.xxx.xxx ' (ECDSA) to the list of known hosts.
Enter passphrase for key 'root':
[root@test01 ~]#
If you would like to use putty to log in from windows then the private key will likely to be incompatible so you will have to use the puttygen utility to load and save the private key in the proper format.
Open the puttygen utility and load your private key. Once loaded click on Save private key and you will get a putty compatible .pkk file.

Open putty, create the session, navigate to the Connection -> SSH -> Auth menu. Click Browse and open the newly generated pkk file then click Open to start the putty session.

The putty session will now open to the server.

Alternative ways to log in to your server
Once you are logged in you can set the root password using the passwd command and you no longer need to have your server on a public ip address.
Feel free to unbind the Floating IP and use it for a different server or just simply delete it.
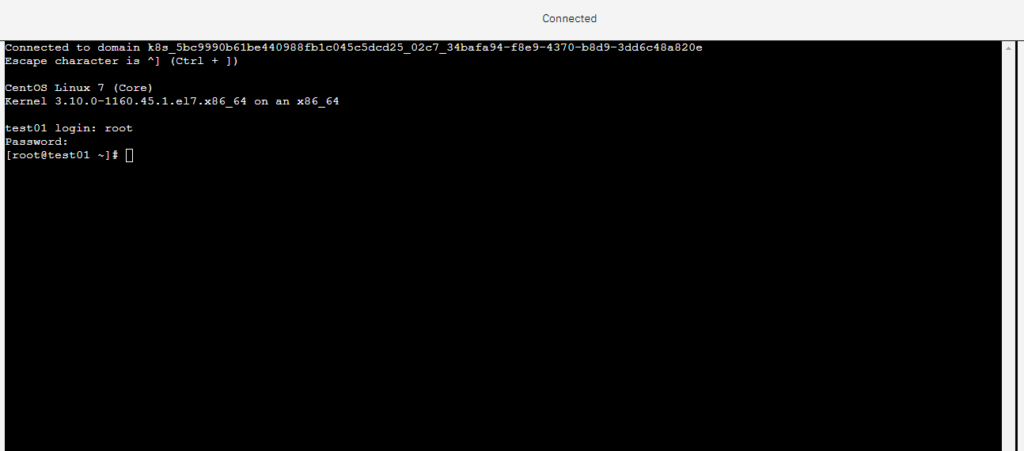
Navigate to VPC Infrastructure -> Virtual server instances and click on your VM. once you are in the main screen of your vm, select Actions on the top right corner and pick either Open VNC console or Open serial console.

This will open a console to your vm without the need of a public ip address. Use your new password for root to log in.
